CITIES VISITED:
- Belize City (1 night) – not much happening here so only worth staying if you need for transit reasons.
- Caye Caulker (4 nights)
- San Ignacio (2 nights)
PRO TIPS:
- USD are widely accepted so bring some to get you started. You’ll get change in Belize dollars when paying in USD.
- Hostels can book out in Caye Caulker so you might want to book ahead.
- There’s a $20usd ($40 Belize dollar) exit fee when you leave by land. When you leave by flight I believe it’s included in your airfare.
- The ATM’s didn’t work for me on Caye Caulker so bring enough USD or get money out in Belize City.
- Bella’s Backpackers puts on a Sunday Funday party if you want to schedule your stay to be there for it.
- When entering/leaving Belize via the airport there is a customs form you need to fill out. To save time I filled it out online beforehand, but you can also fill out the physical form upon arrival.
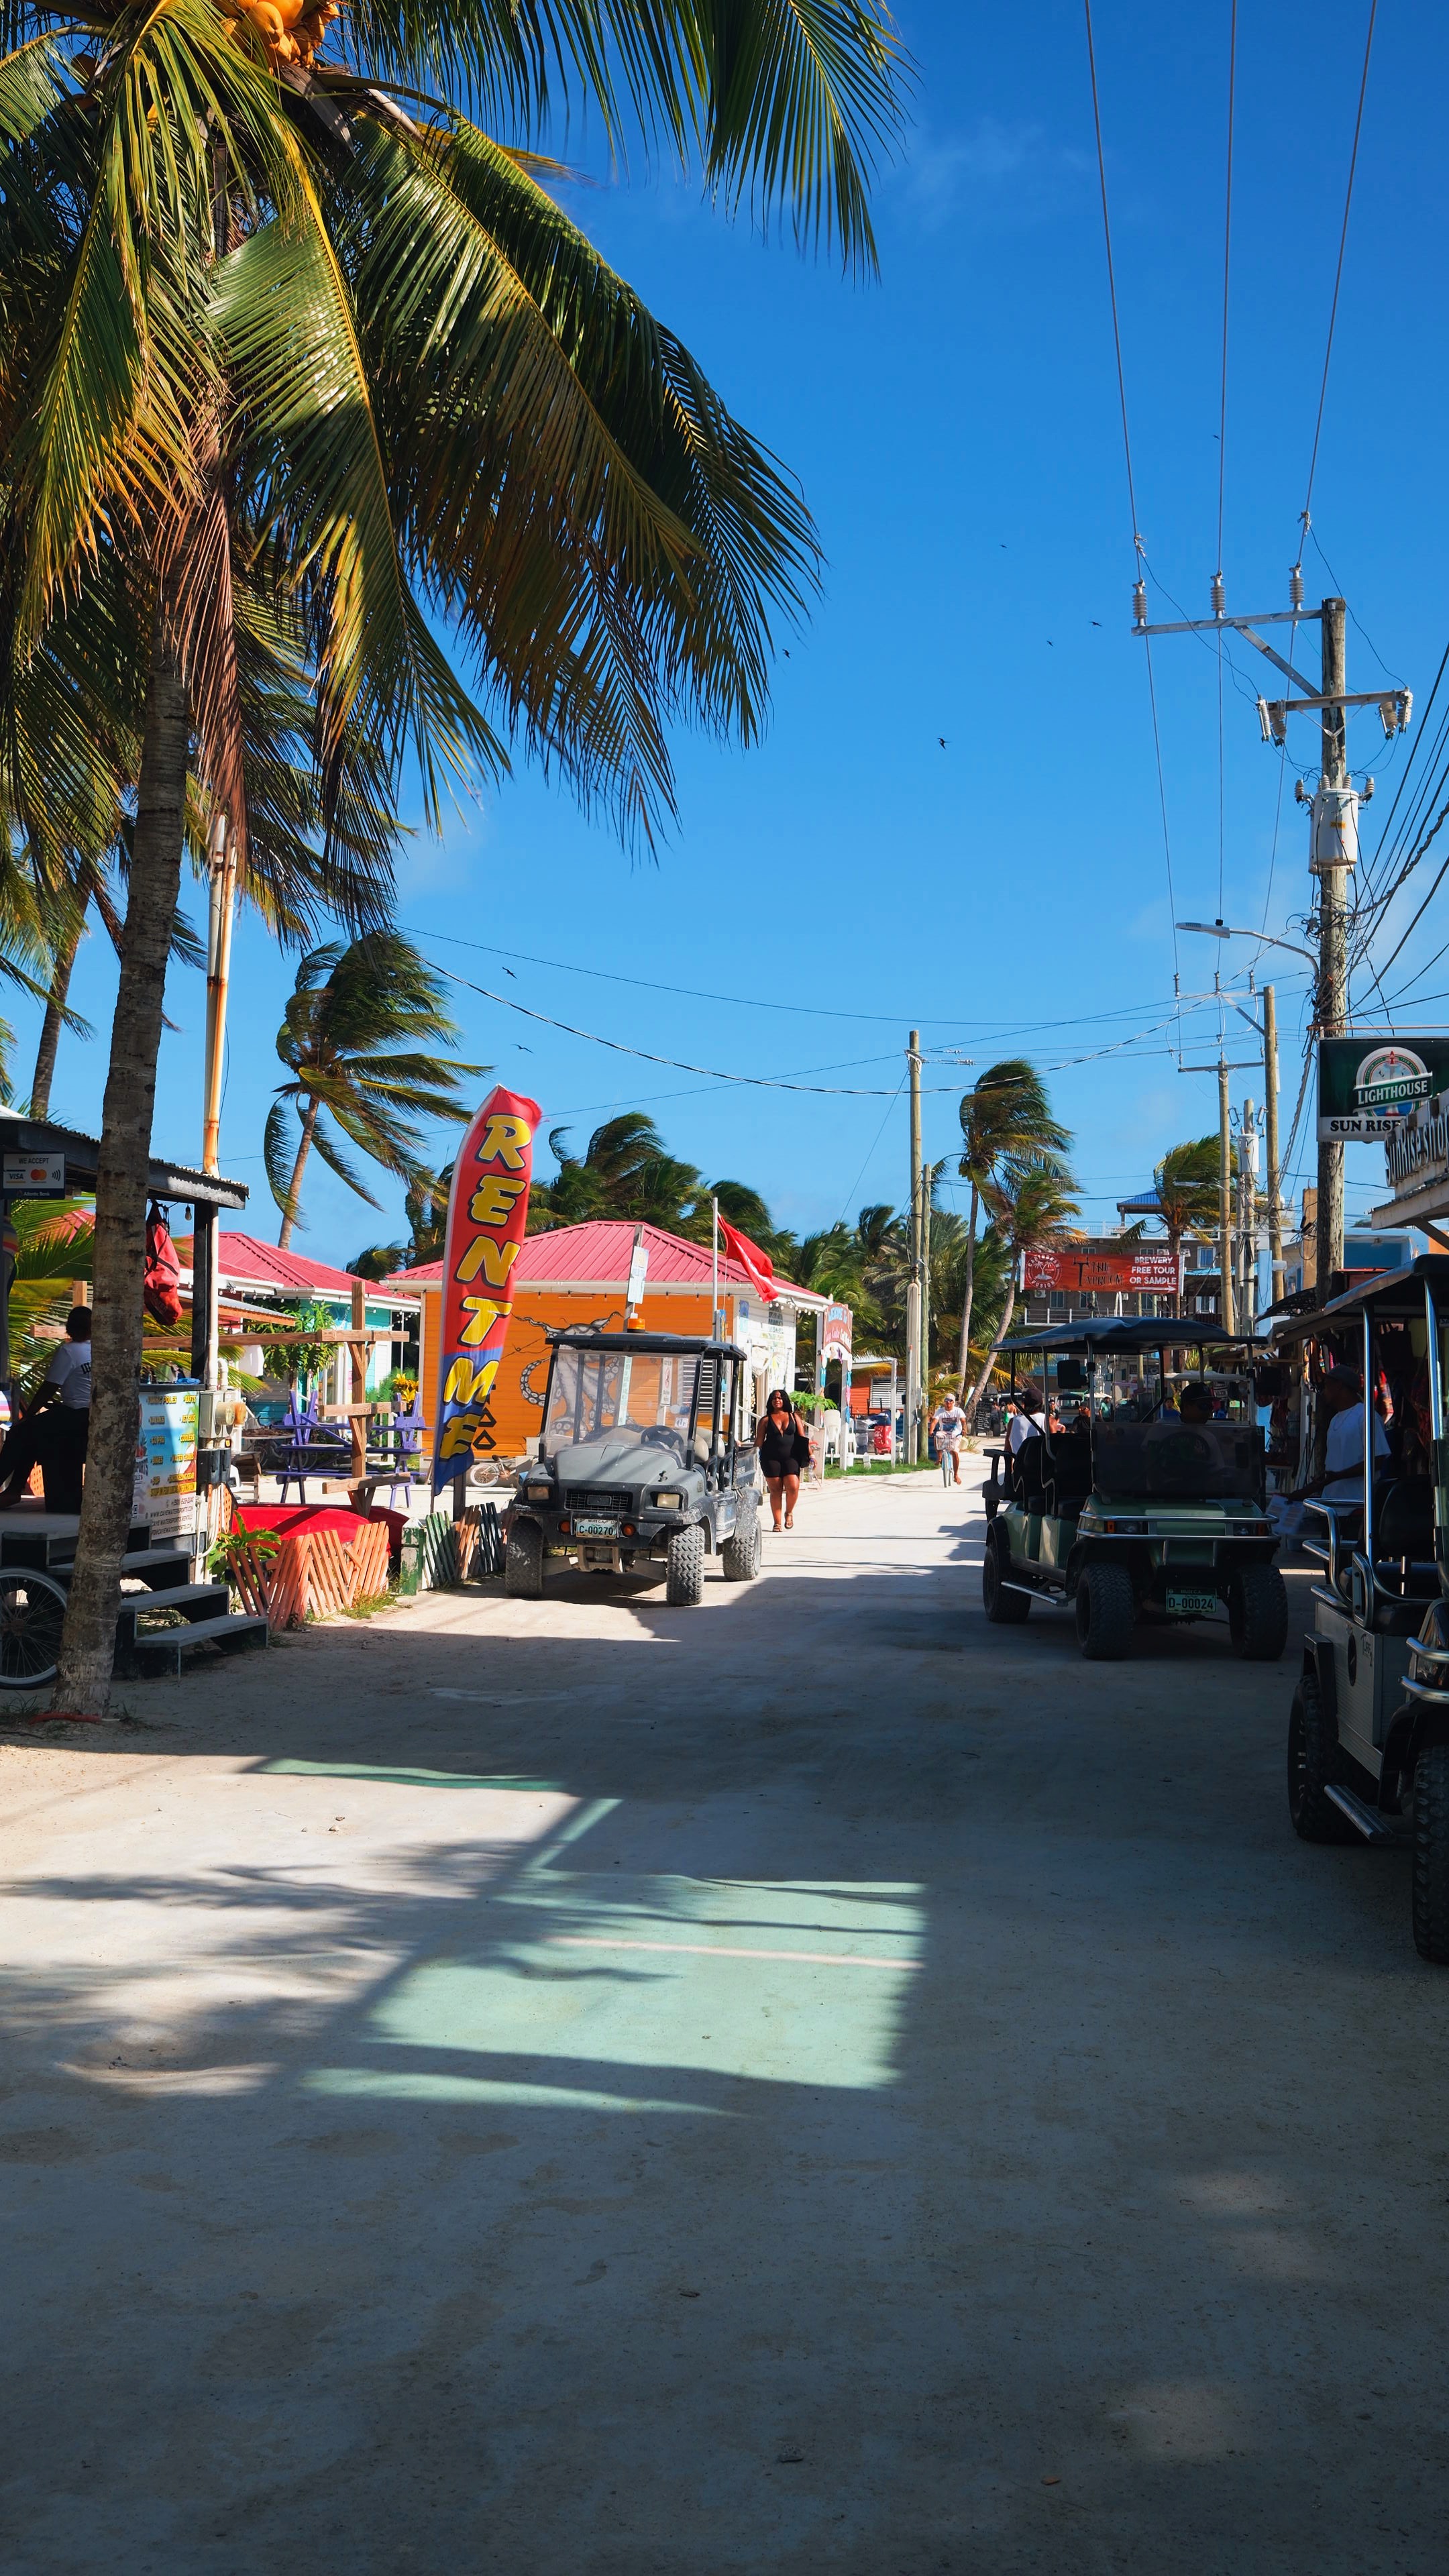
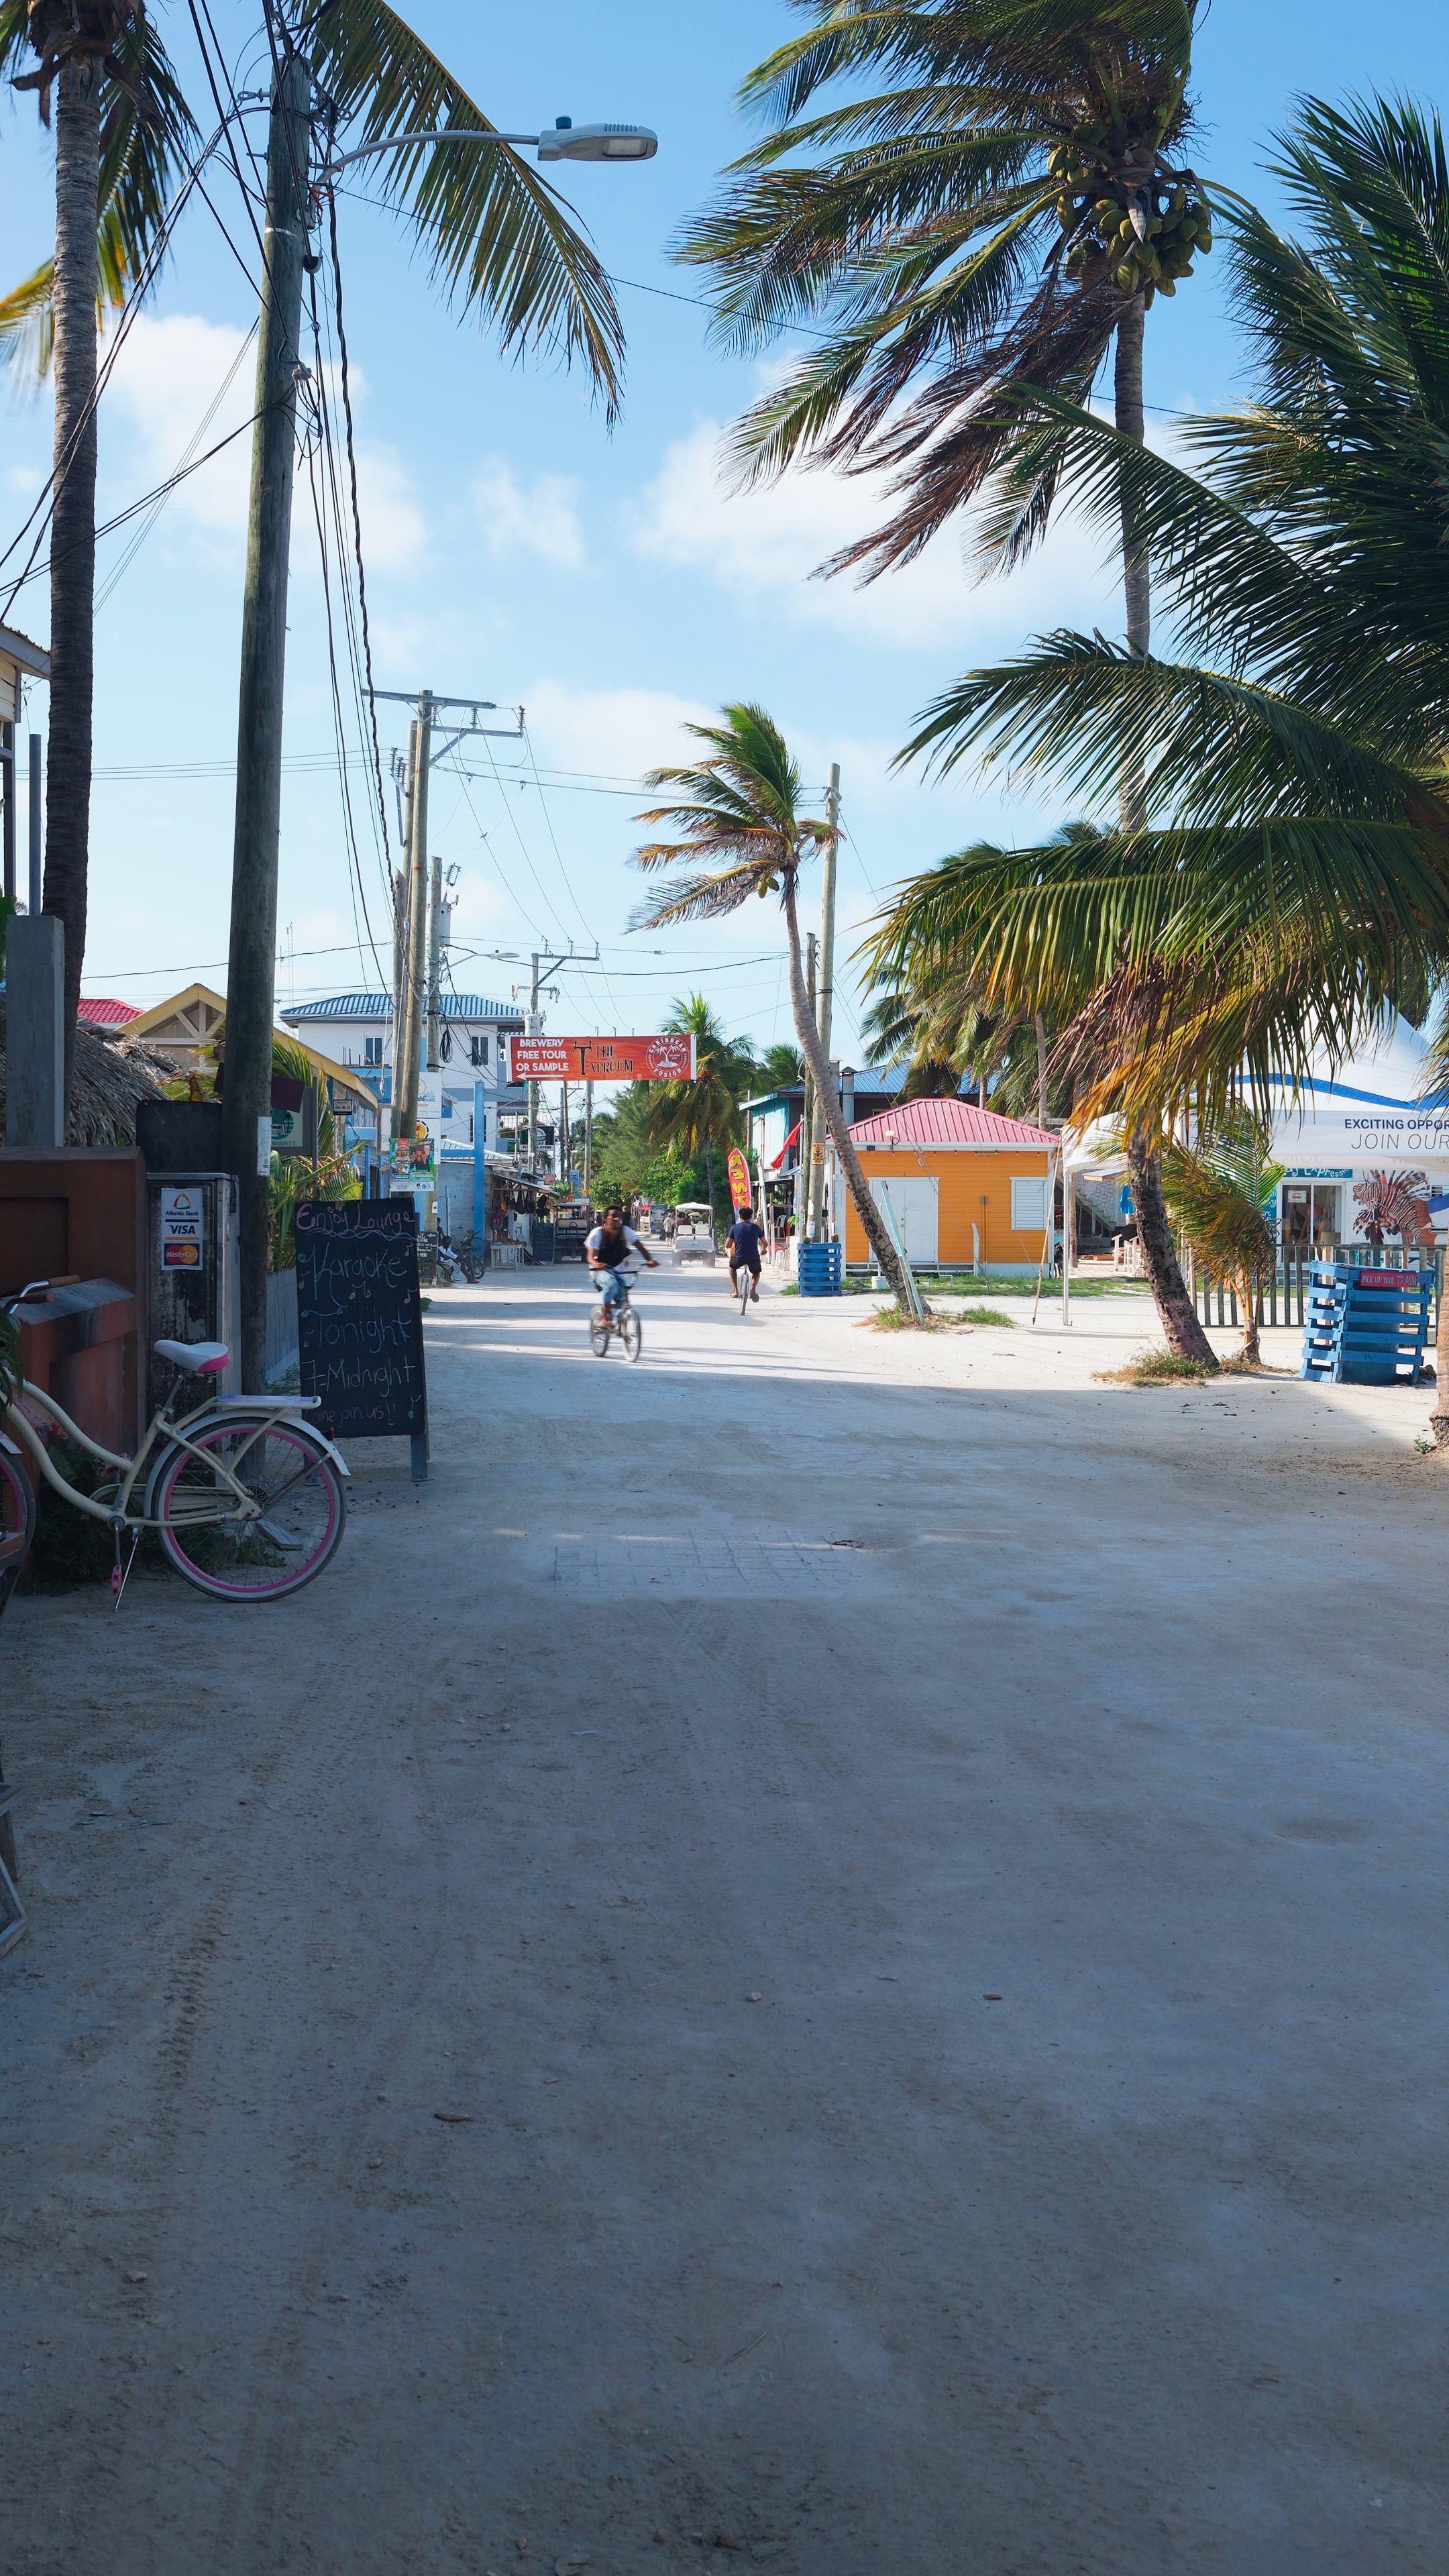
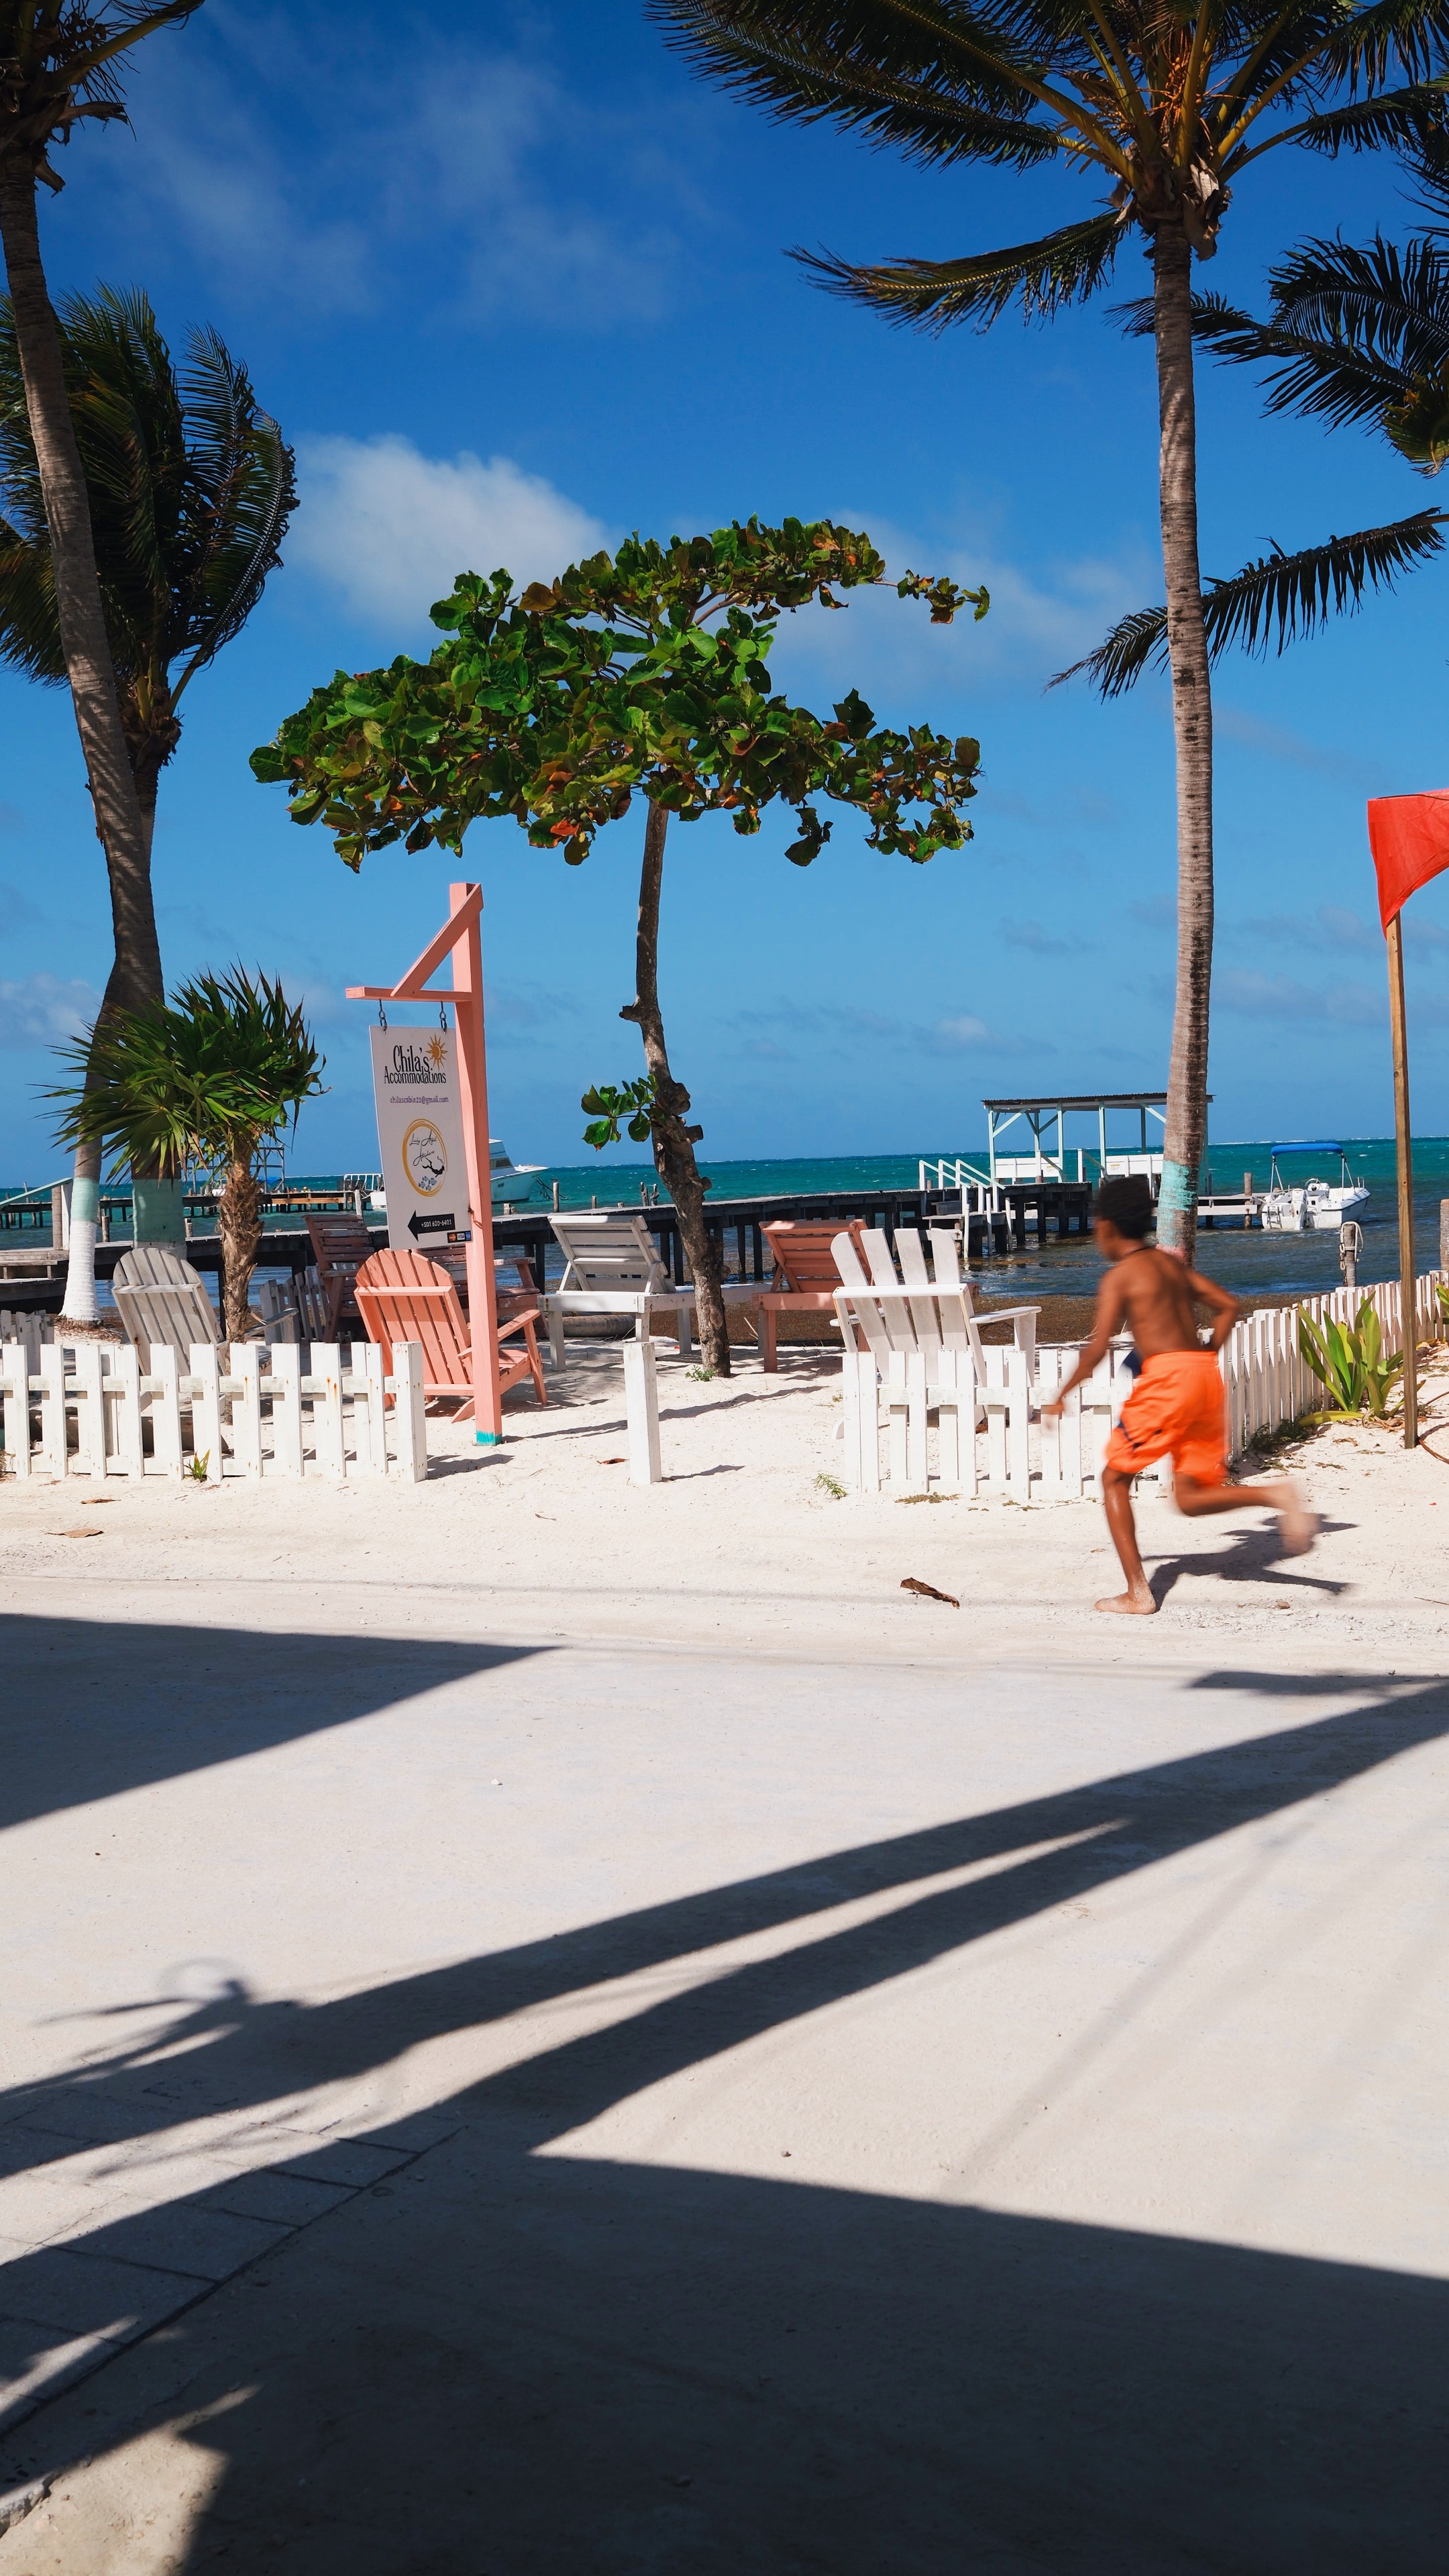
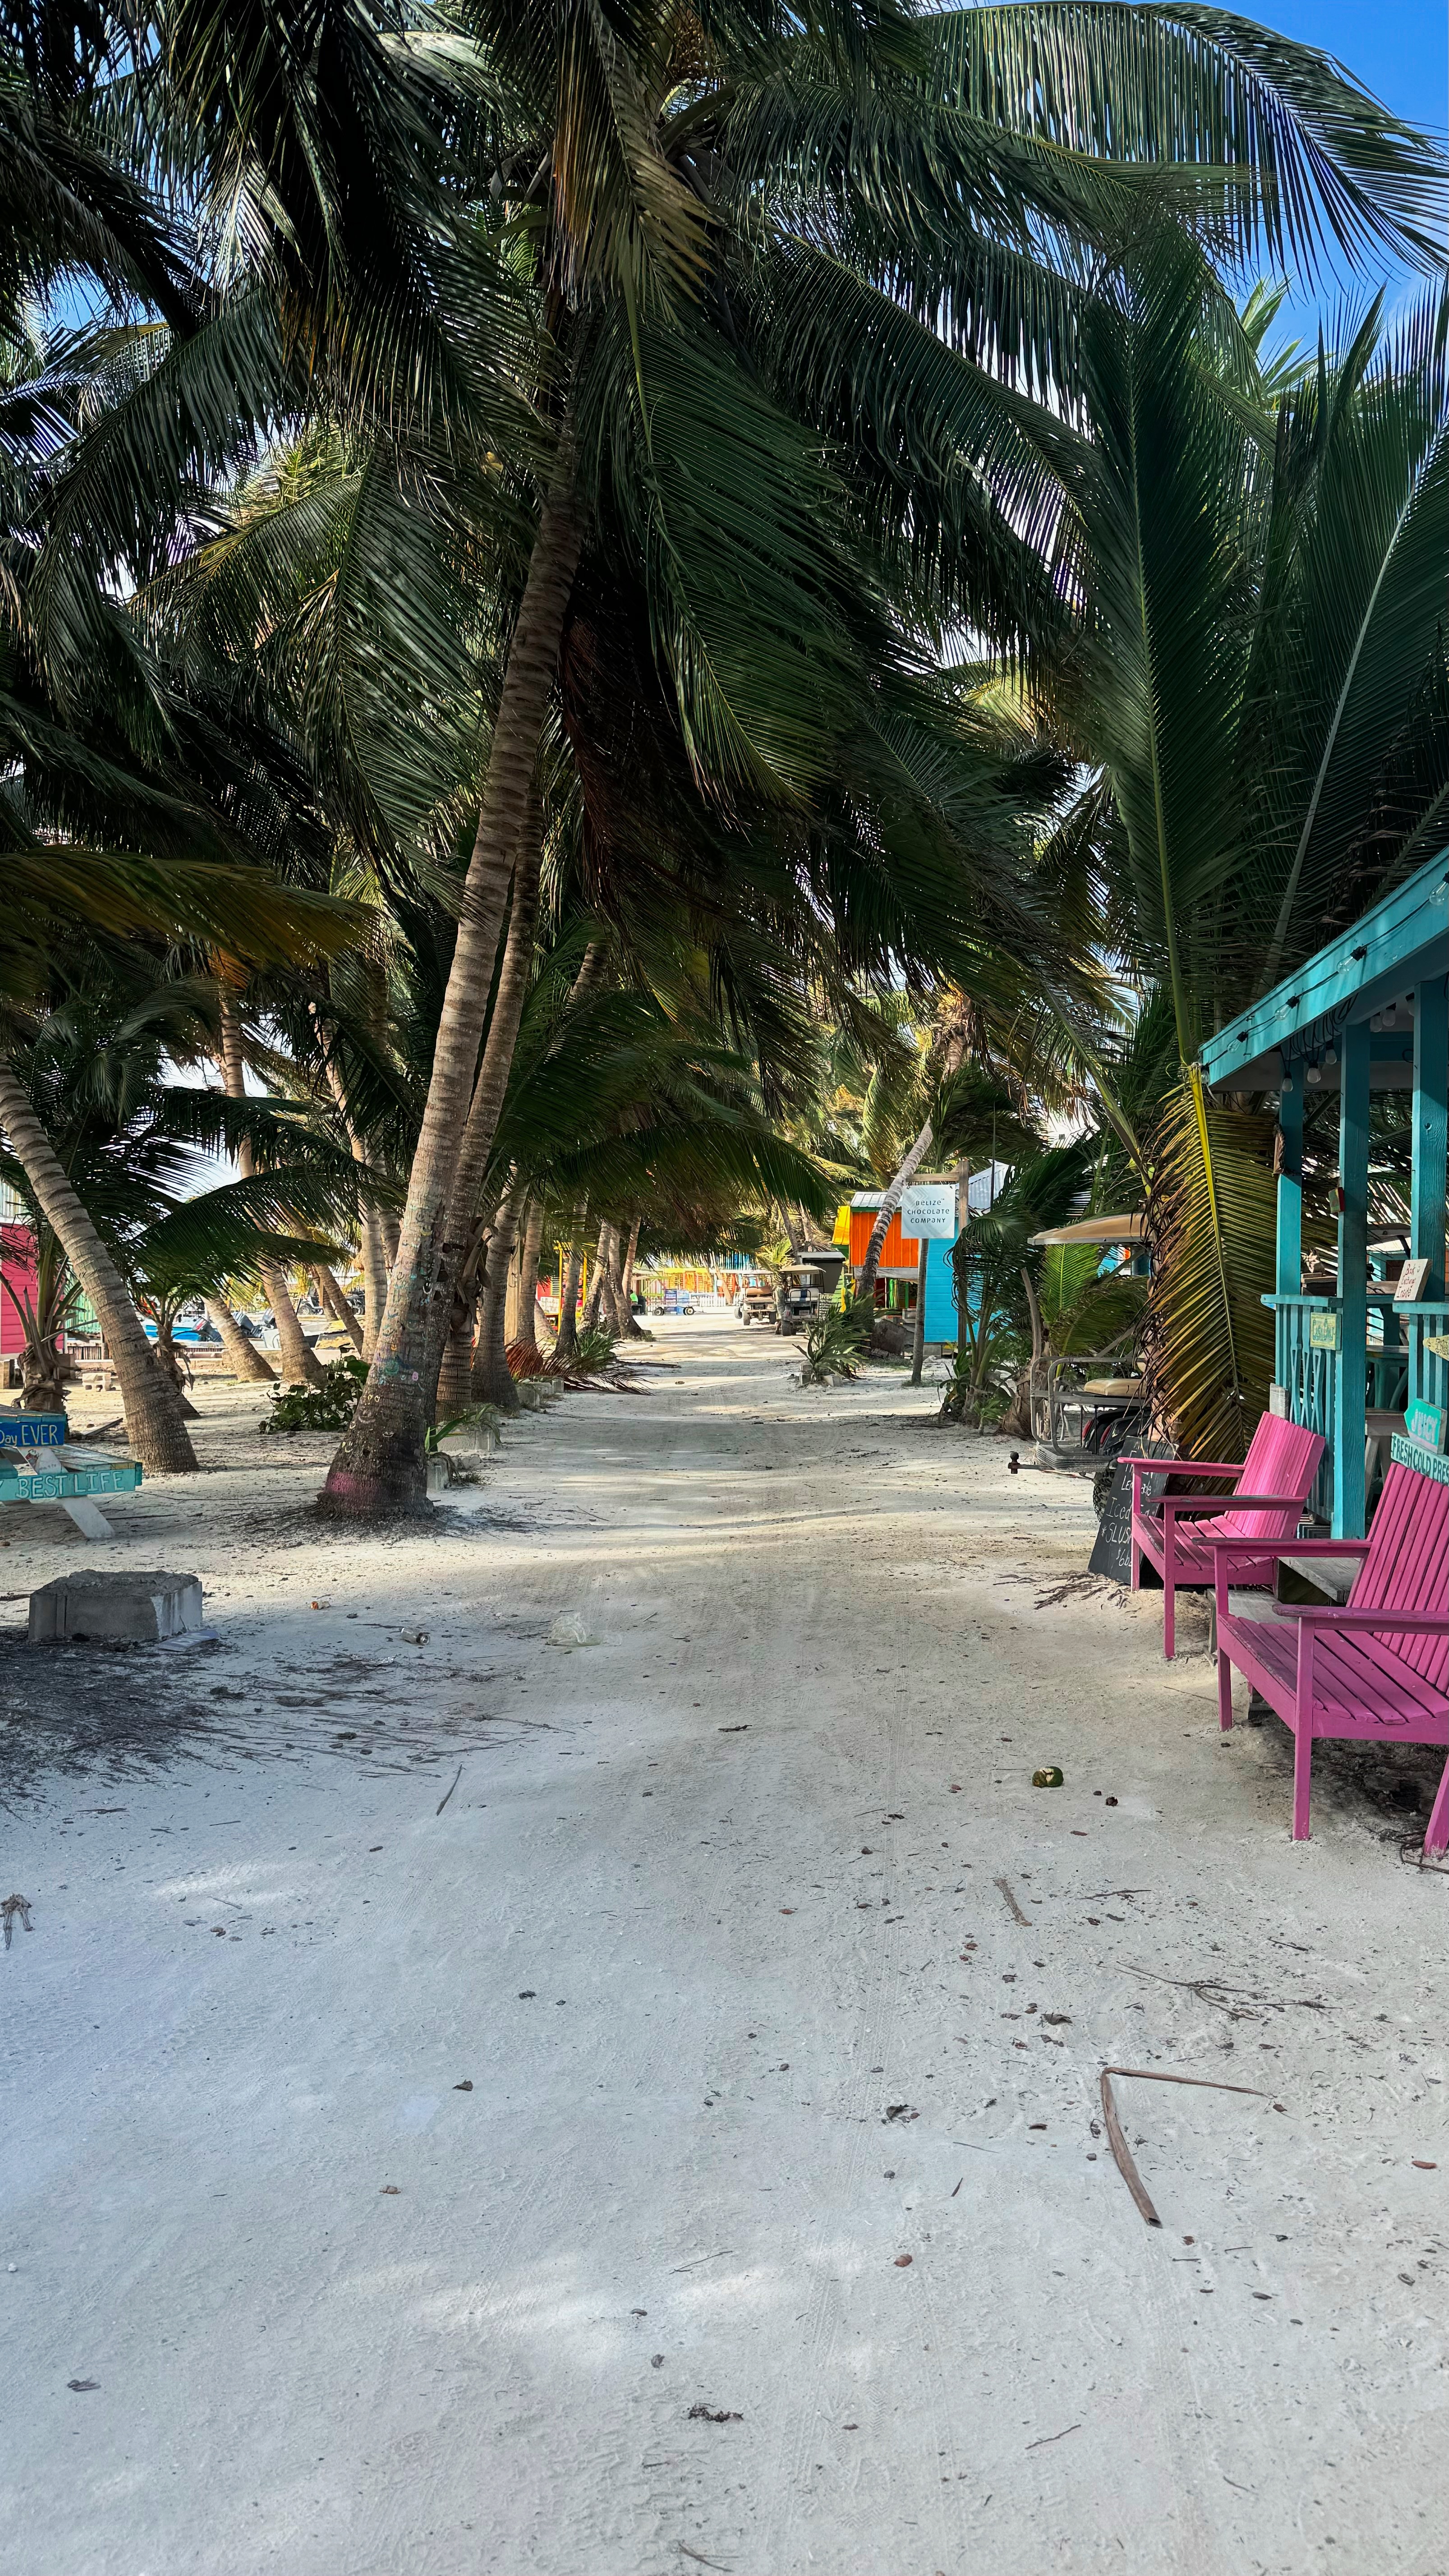
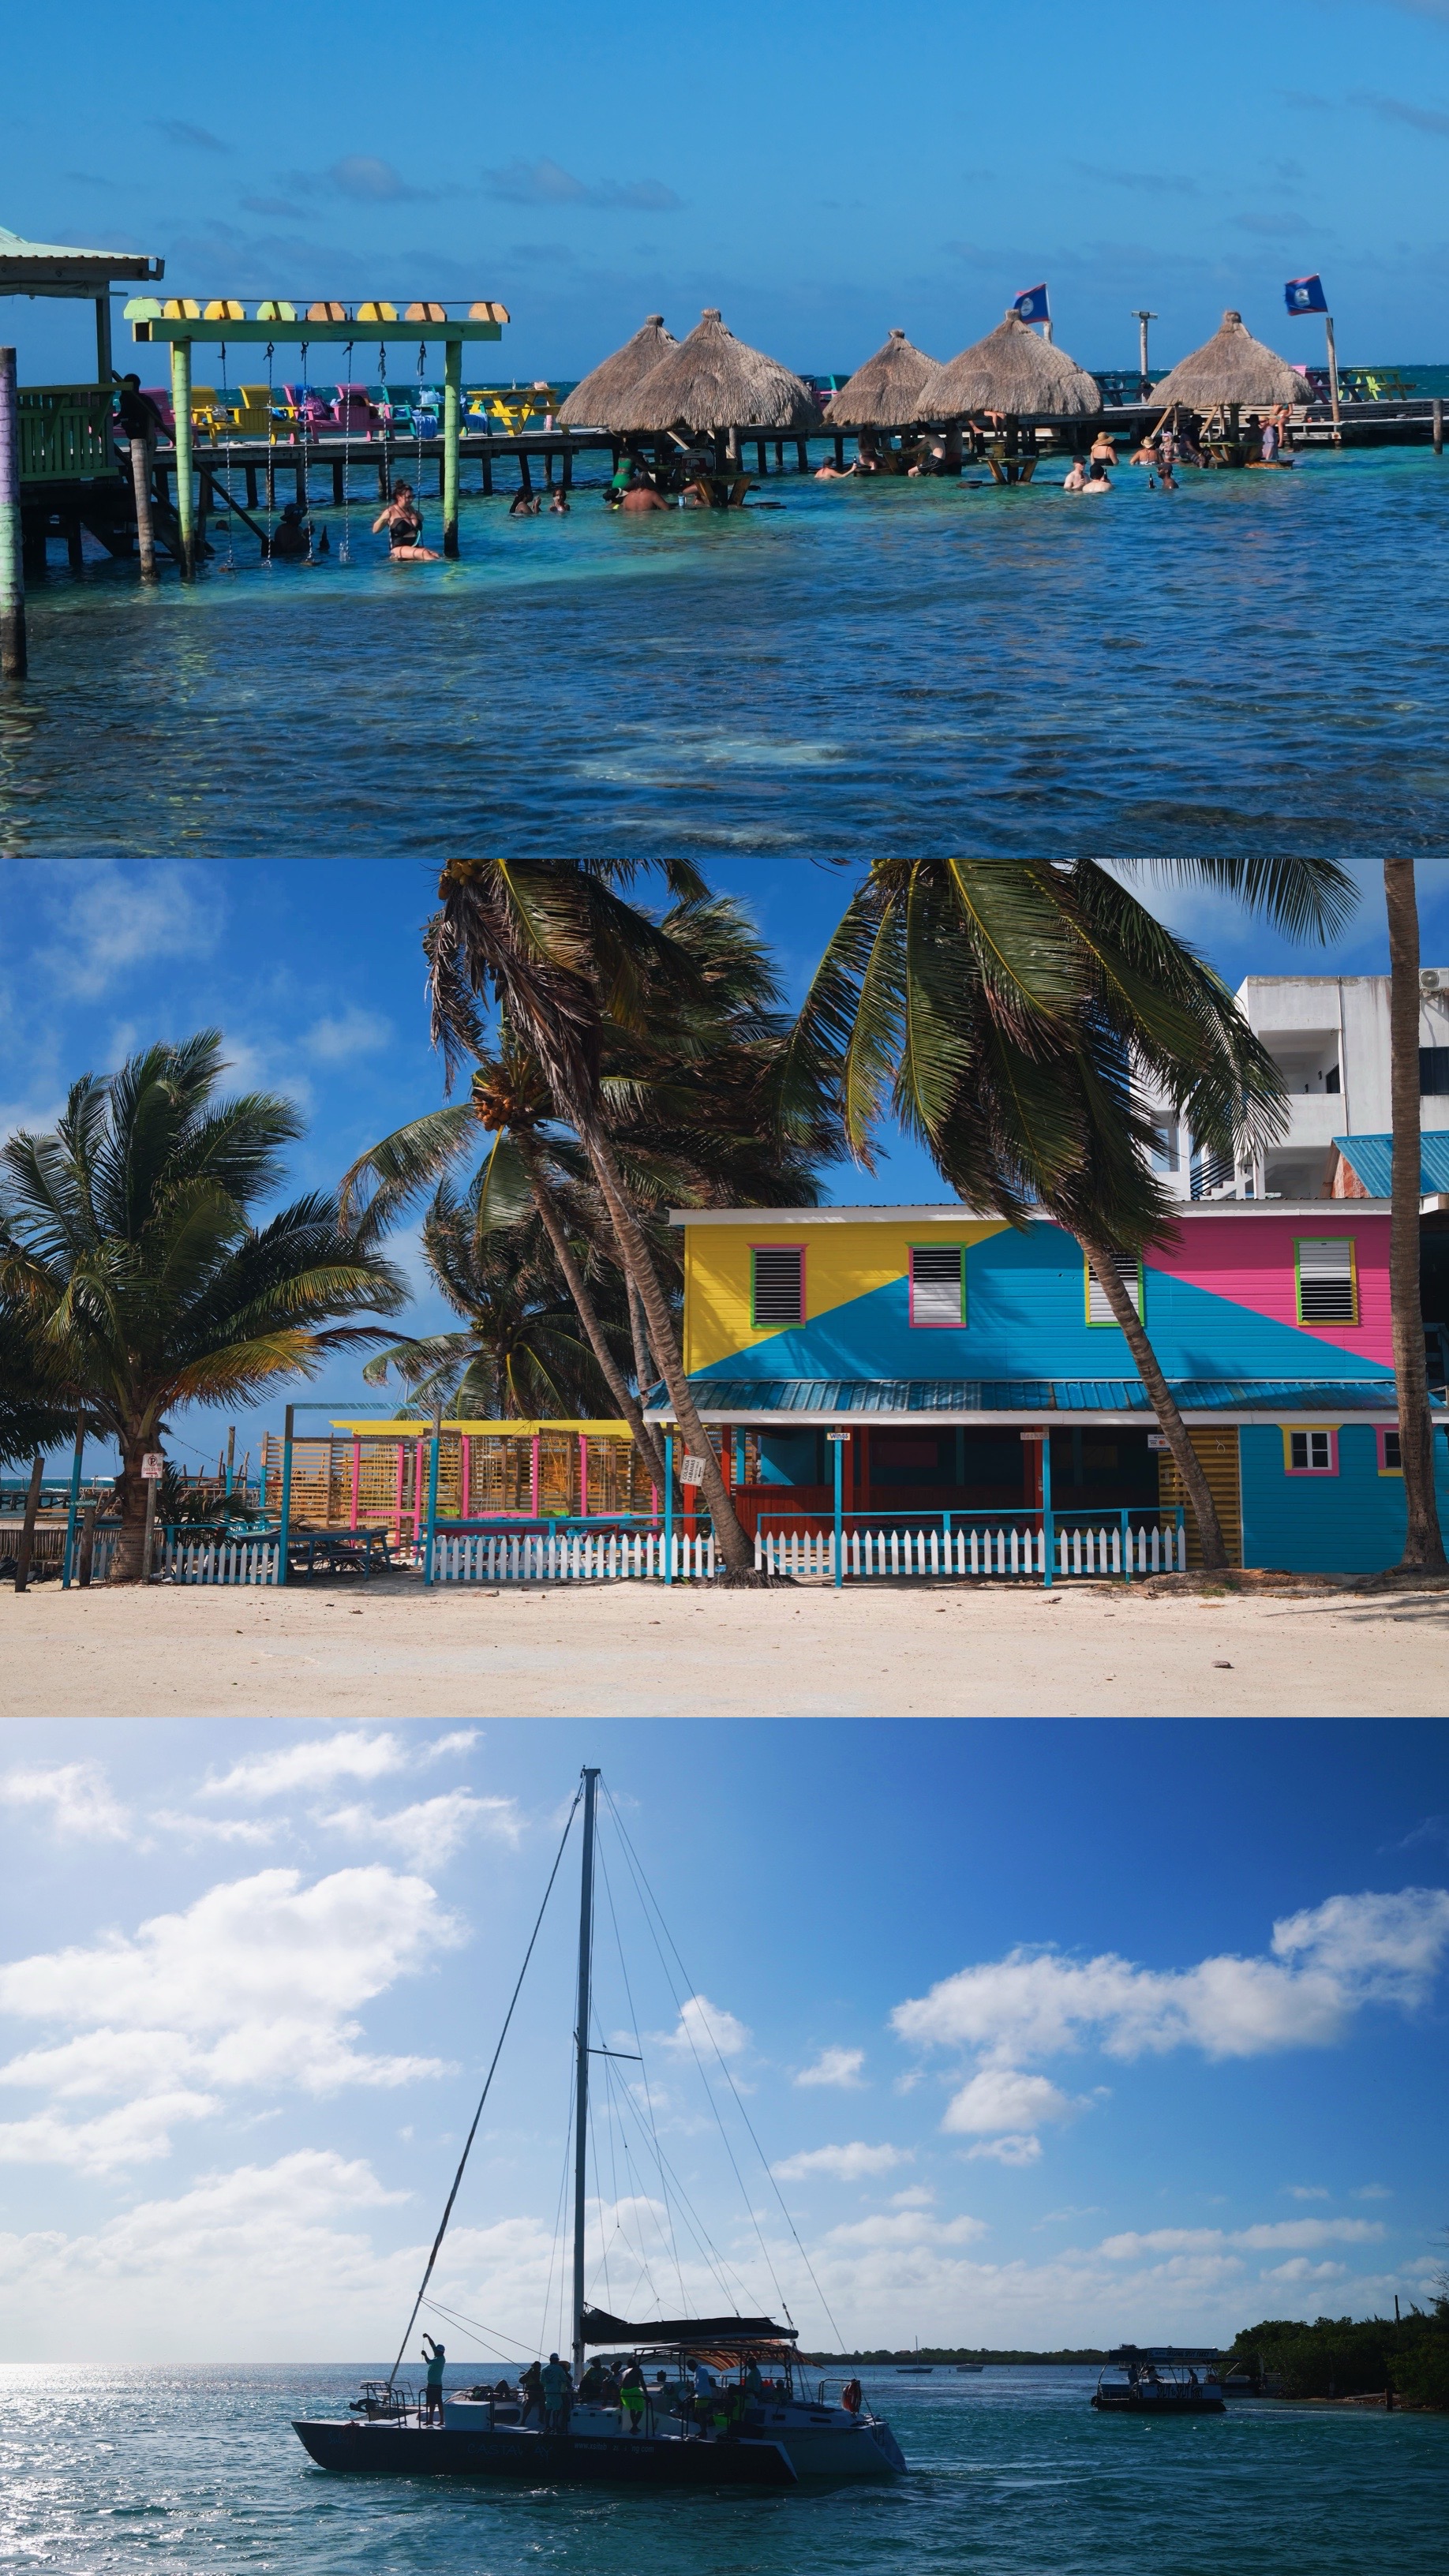
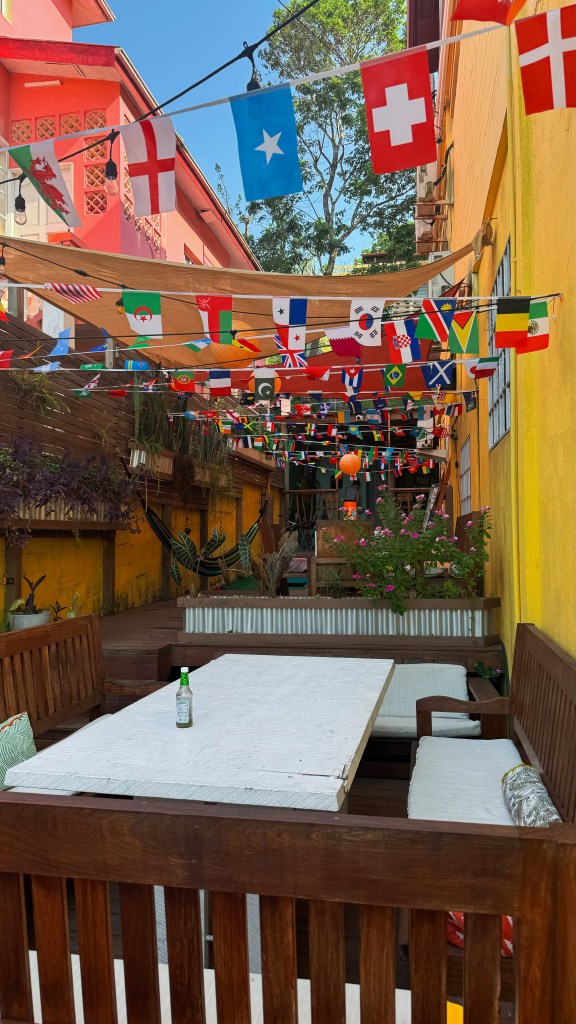
CITY: CAYE CAULKER
HOW LONG: 4 NIGHTS
ACCOMMODATION:
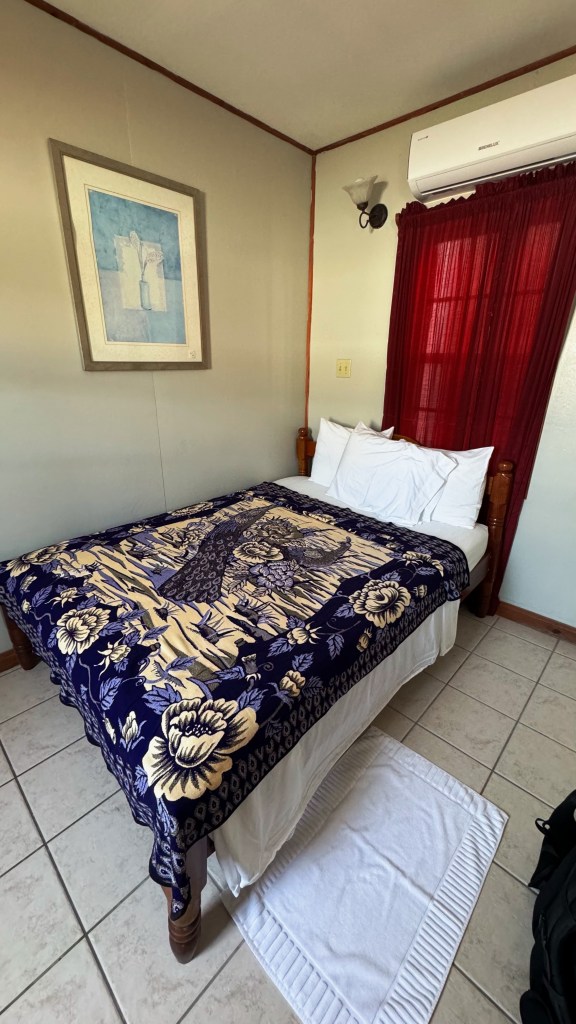
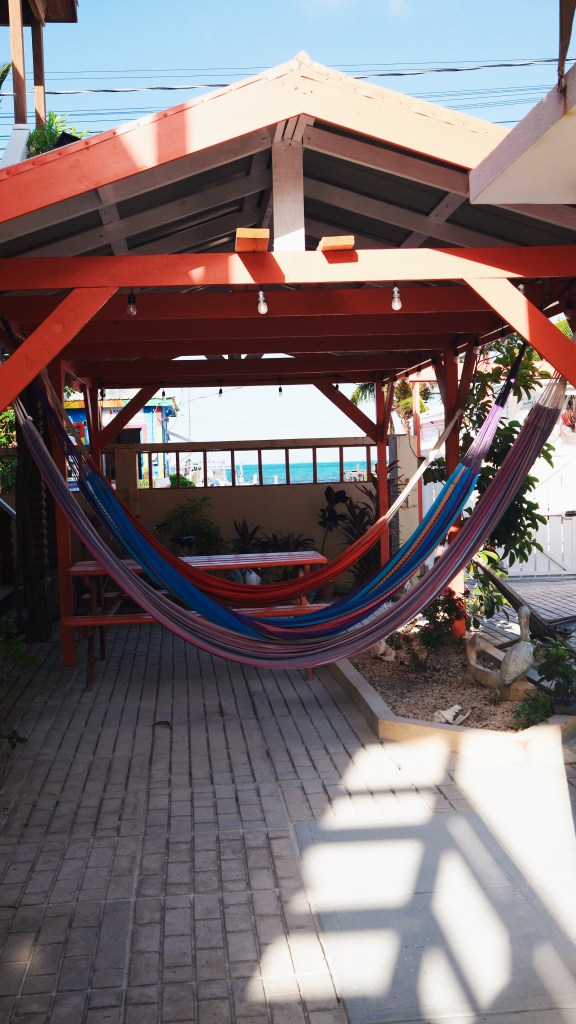
I stayed at Blue Wave Guesthouse. It was a very basic room but it was a treat to have it to myself with a private bathroom. AC was a godsend and I slept well here. They spruced up the room everyday. WiFi worked well. Location was perfect and there were cute hammocks everywhere. You also got a 10% discount when diving with Blue Wave across the way. They provided a water jug during the reception hours where you could fill your water bottle. 7/10 would stay here again
WHERE TO EAT:
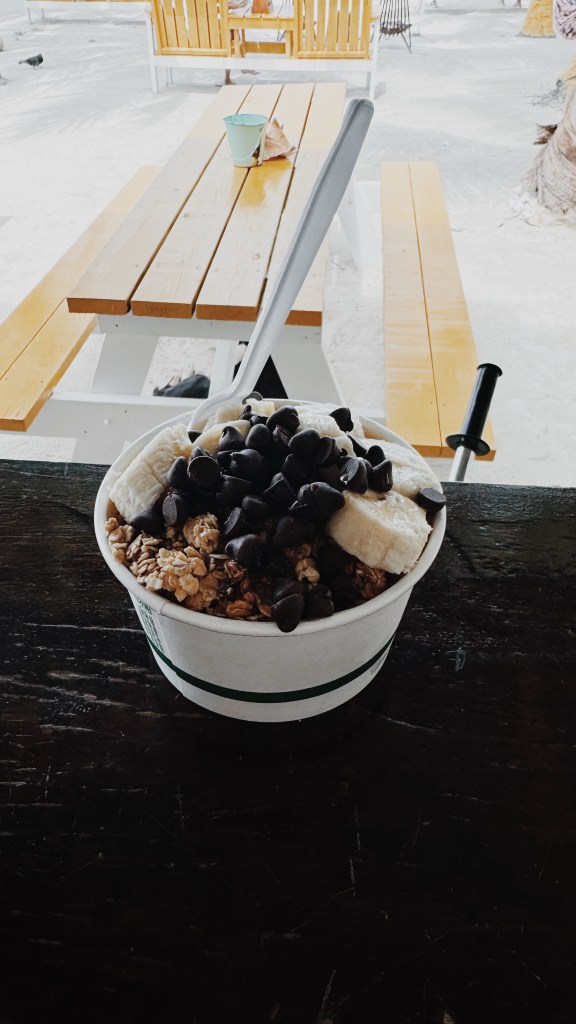
- Ice and Beans Cafe – great for an early bagel or a yummy smoothie bowl. Nice comfy seating outside right on the water. The customer service was above and beyond (makes me think someone from the US runs it)
- The Magic Cup – this place has my favorite smoothies on the island!
- Paradaiso Cafe – had some great breakfast sandwiches here after diving
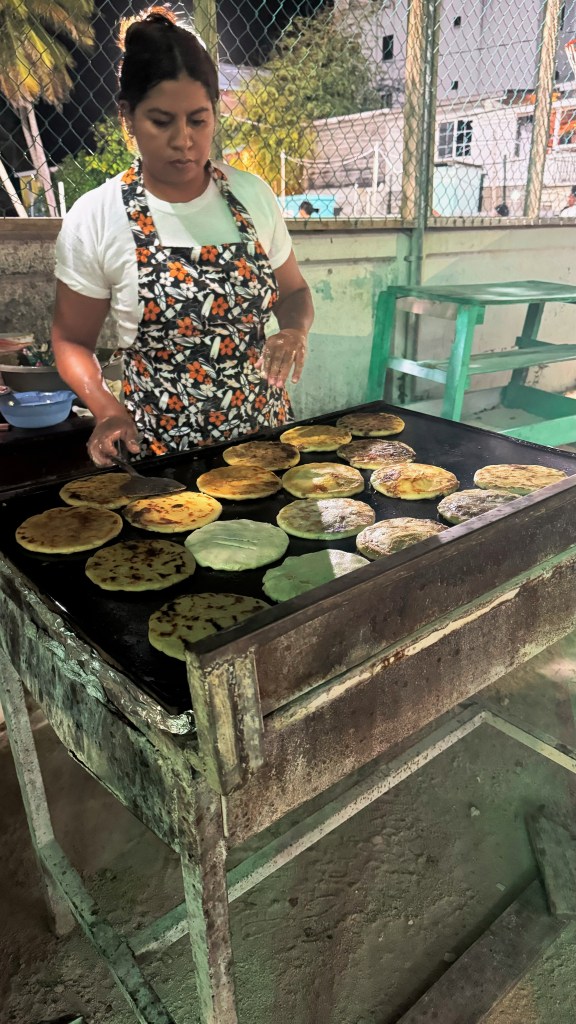
- There was a pupusa stand right next the basketball court that made incredible, yummy, crispy pupusas! It was so cheap and delicious that I ate from there each night 🤣 On an expensive island, who can complain about $2.50 pupusas!
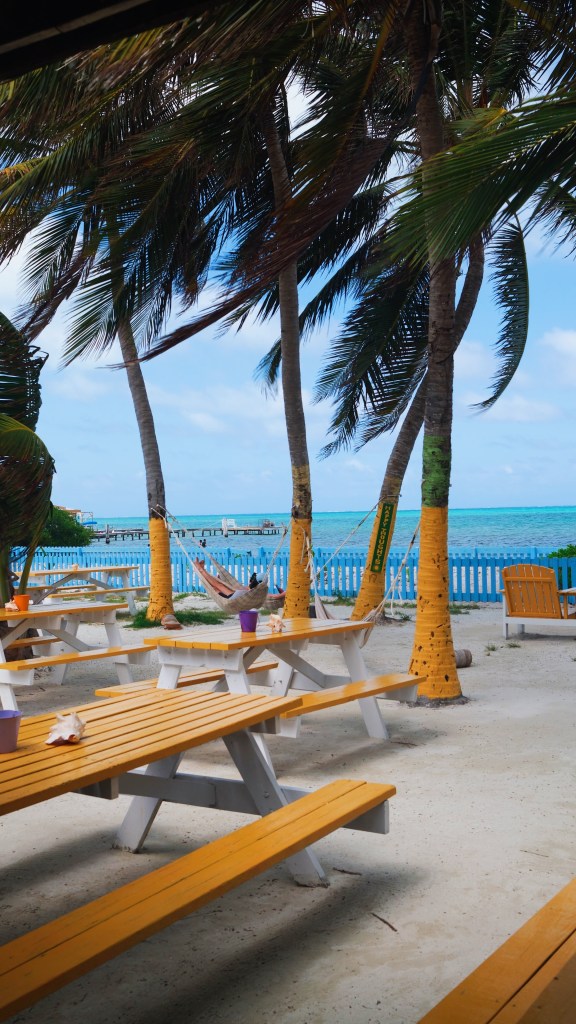
WHAT TO DO:
There are so many things to do on Caye Caulker
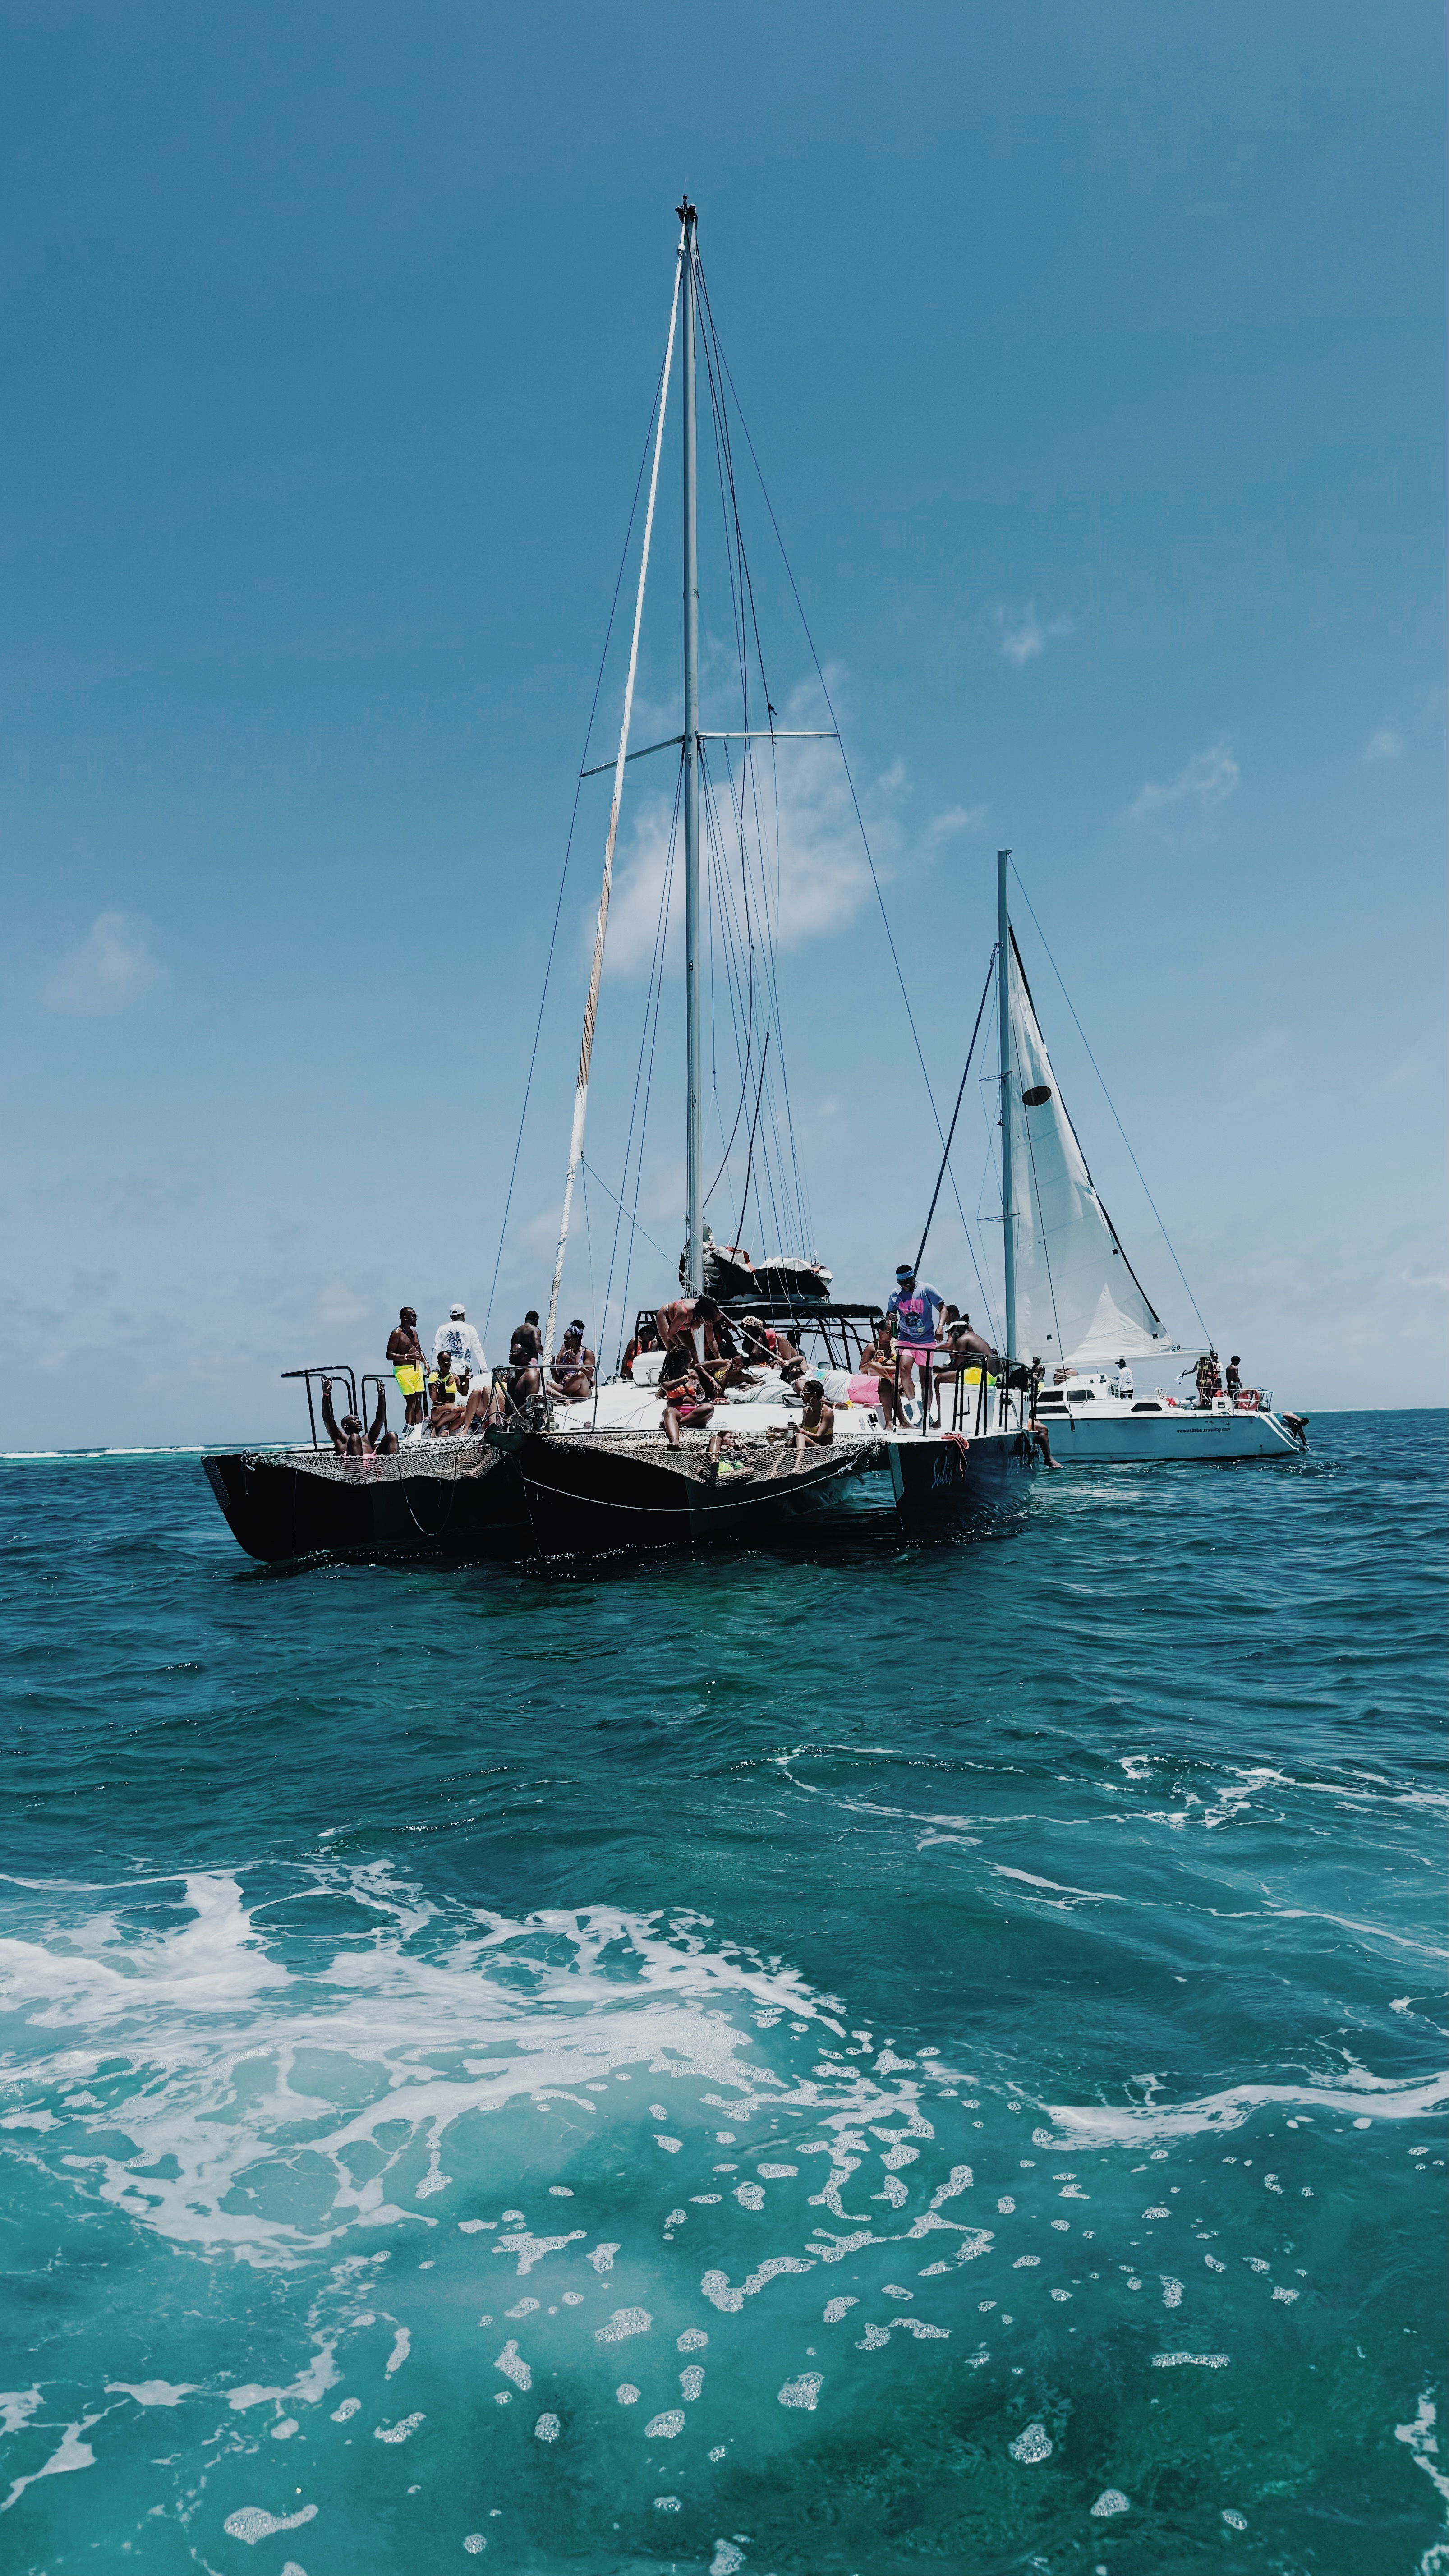
- Do a snorkeling tour! You’ll see (hopefully) manatees, sharks, turtles and more! They often stop at a few different spots to get a chance to see all the beautiful marine life
- Go scuba diving! So many dive spots, including a long expensive day to get to the Blue Hole. I opted out (I can always come back) but did dives at Turneffe North and Caye Chapel. Overall pretty lovely dives. We saw turtles, manatees, nurse sharks, drum fish, and lots of eels.
- Feed the tarpons
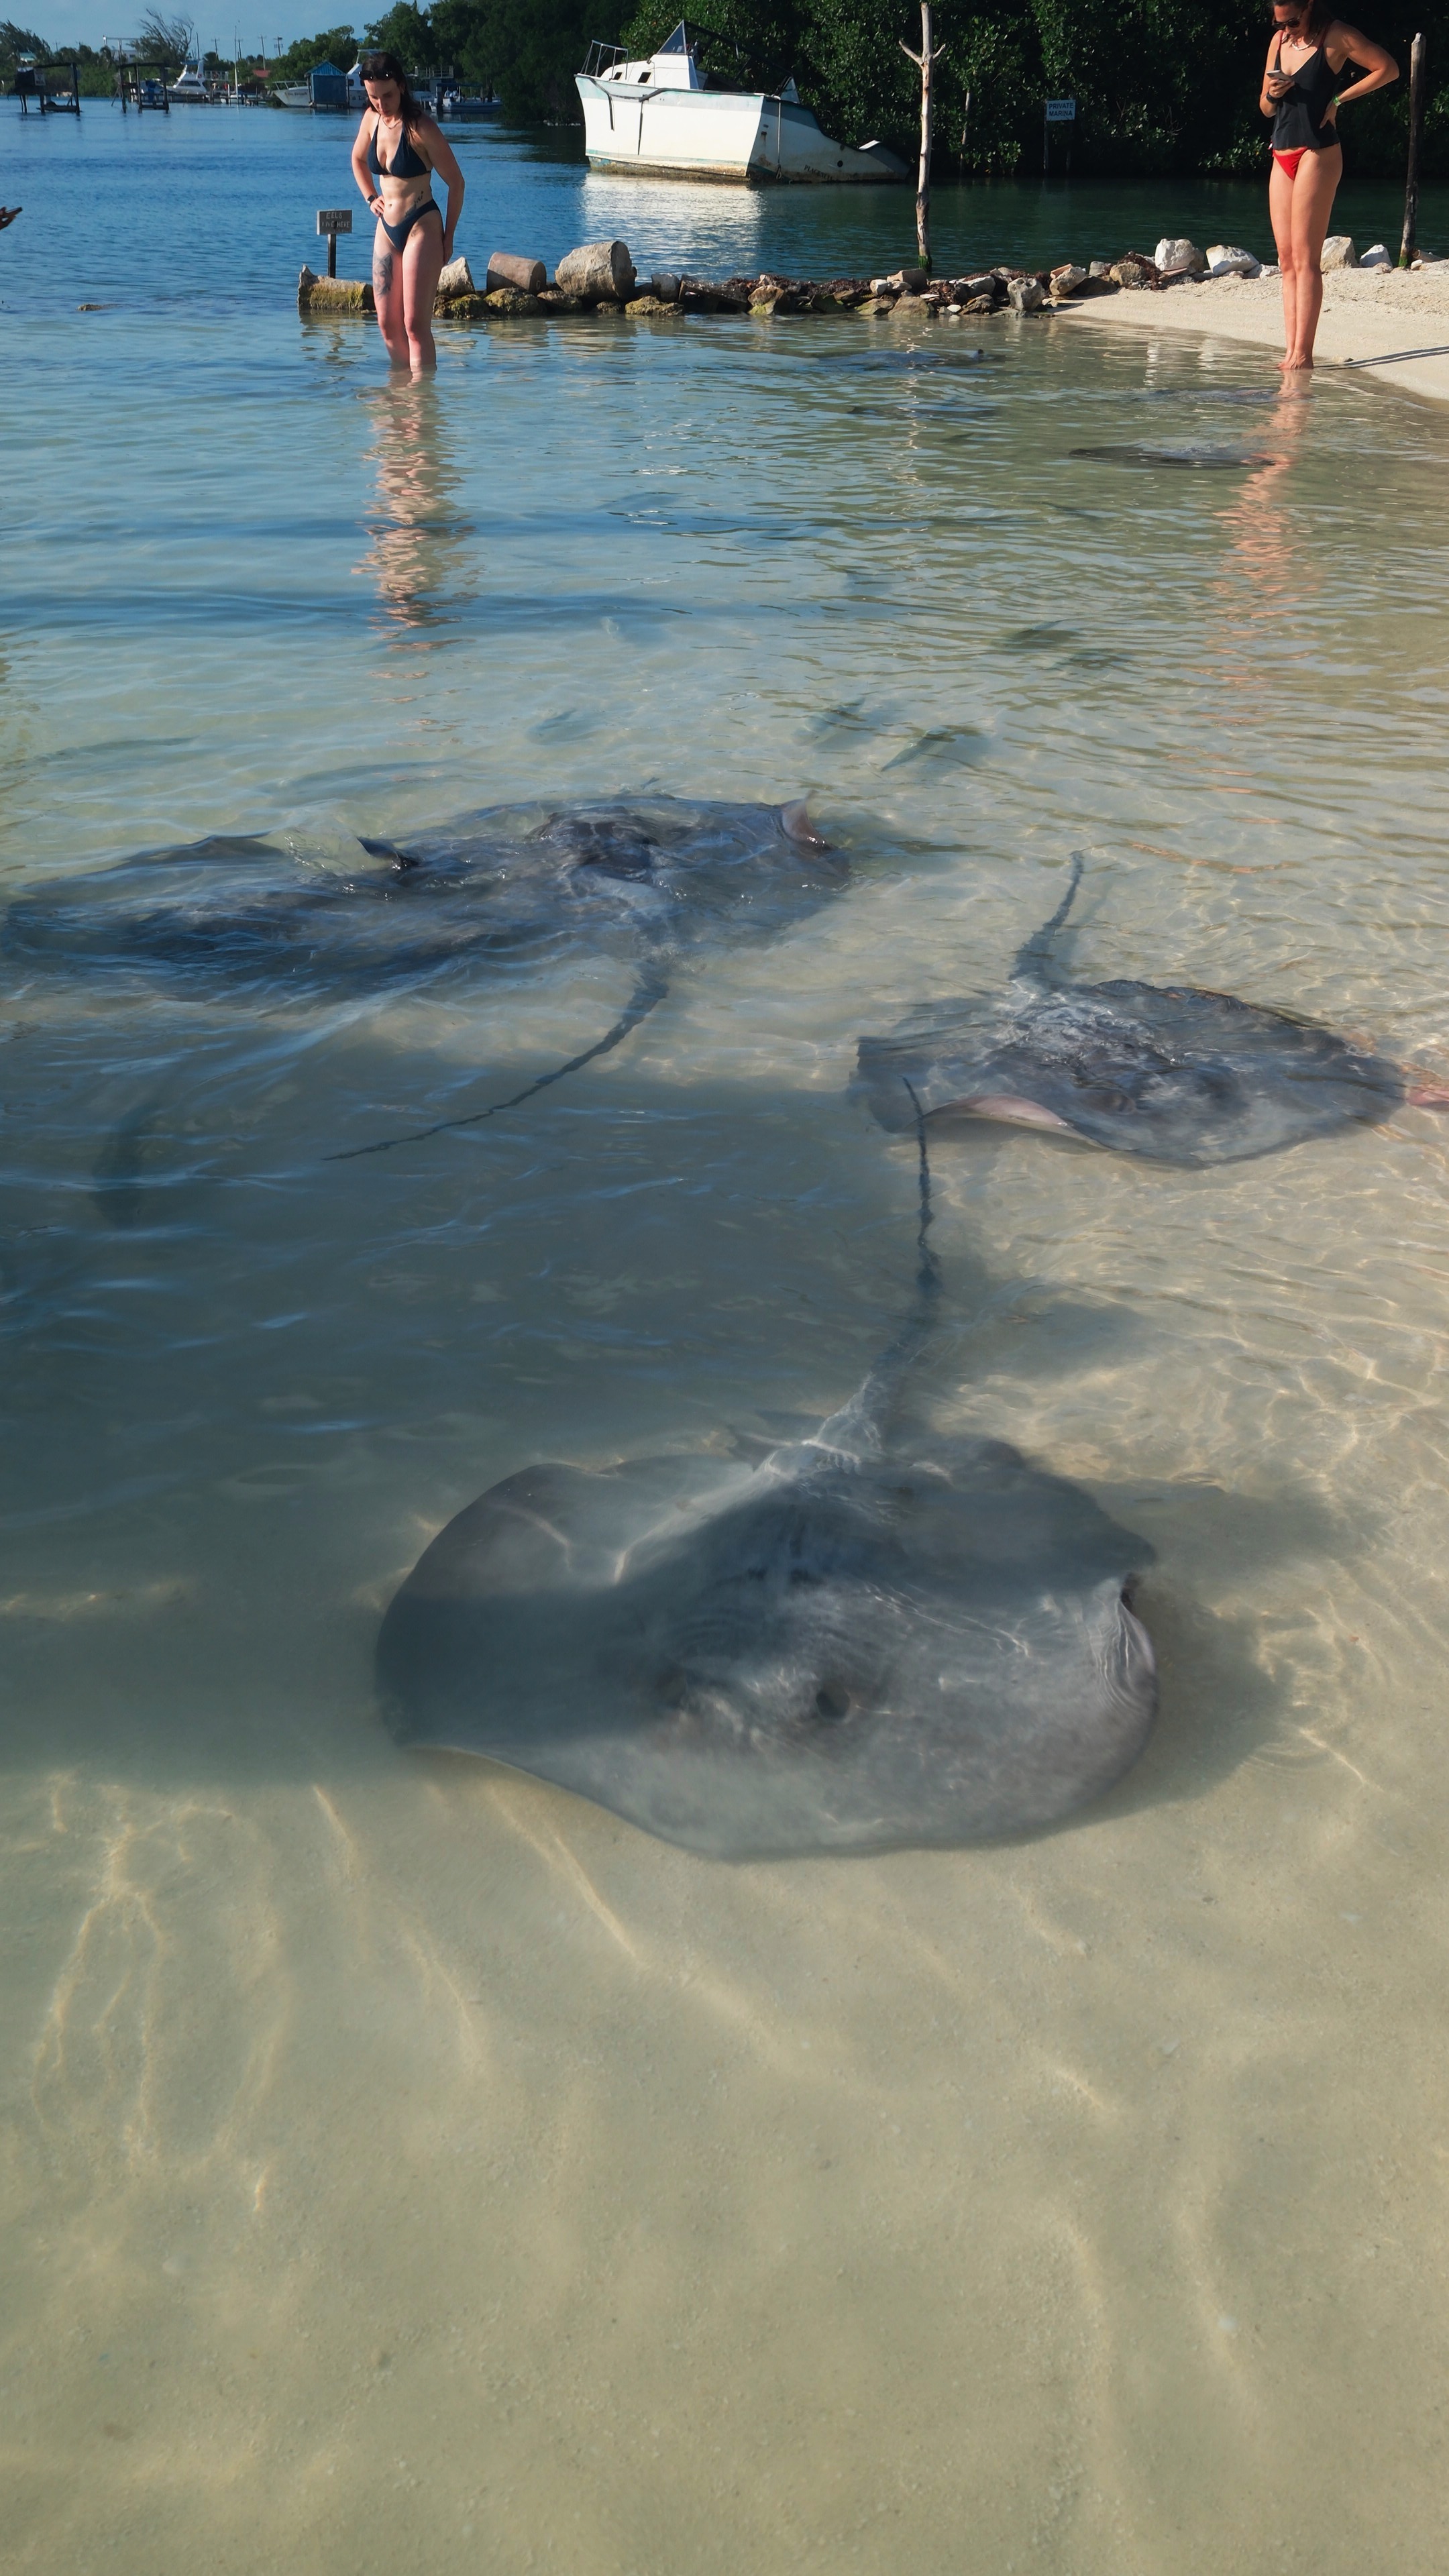
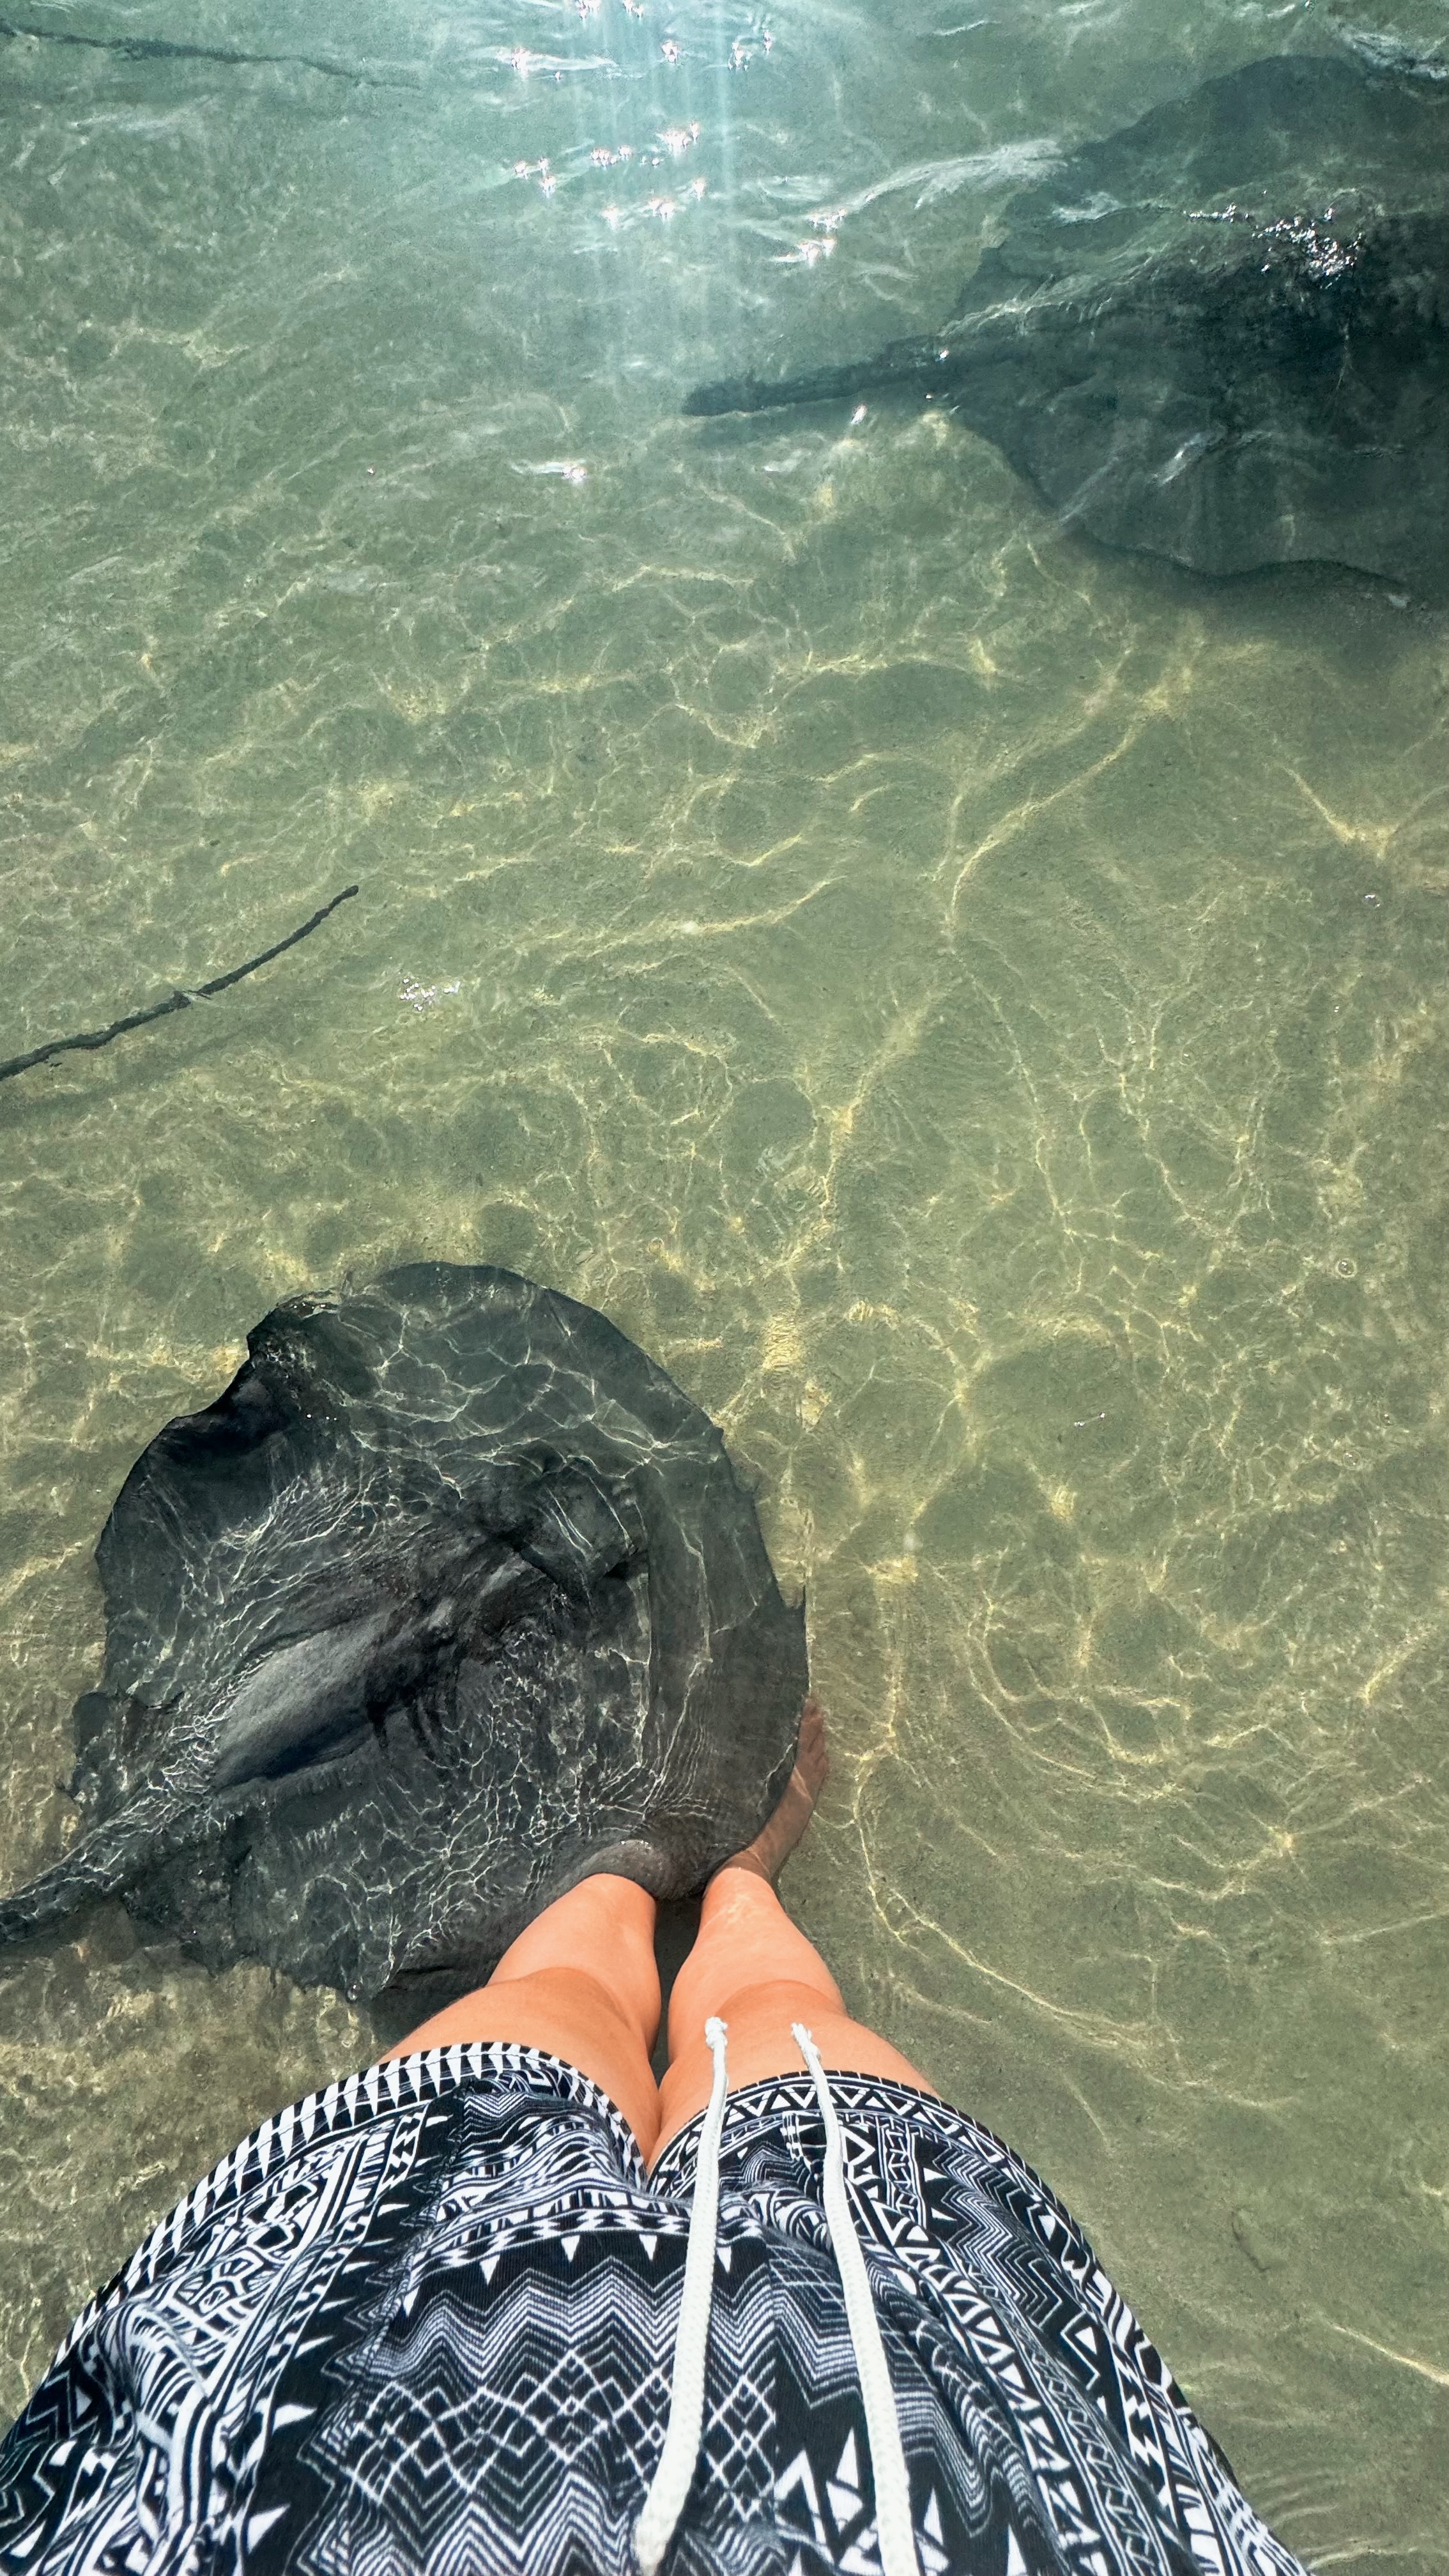
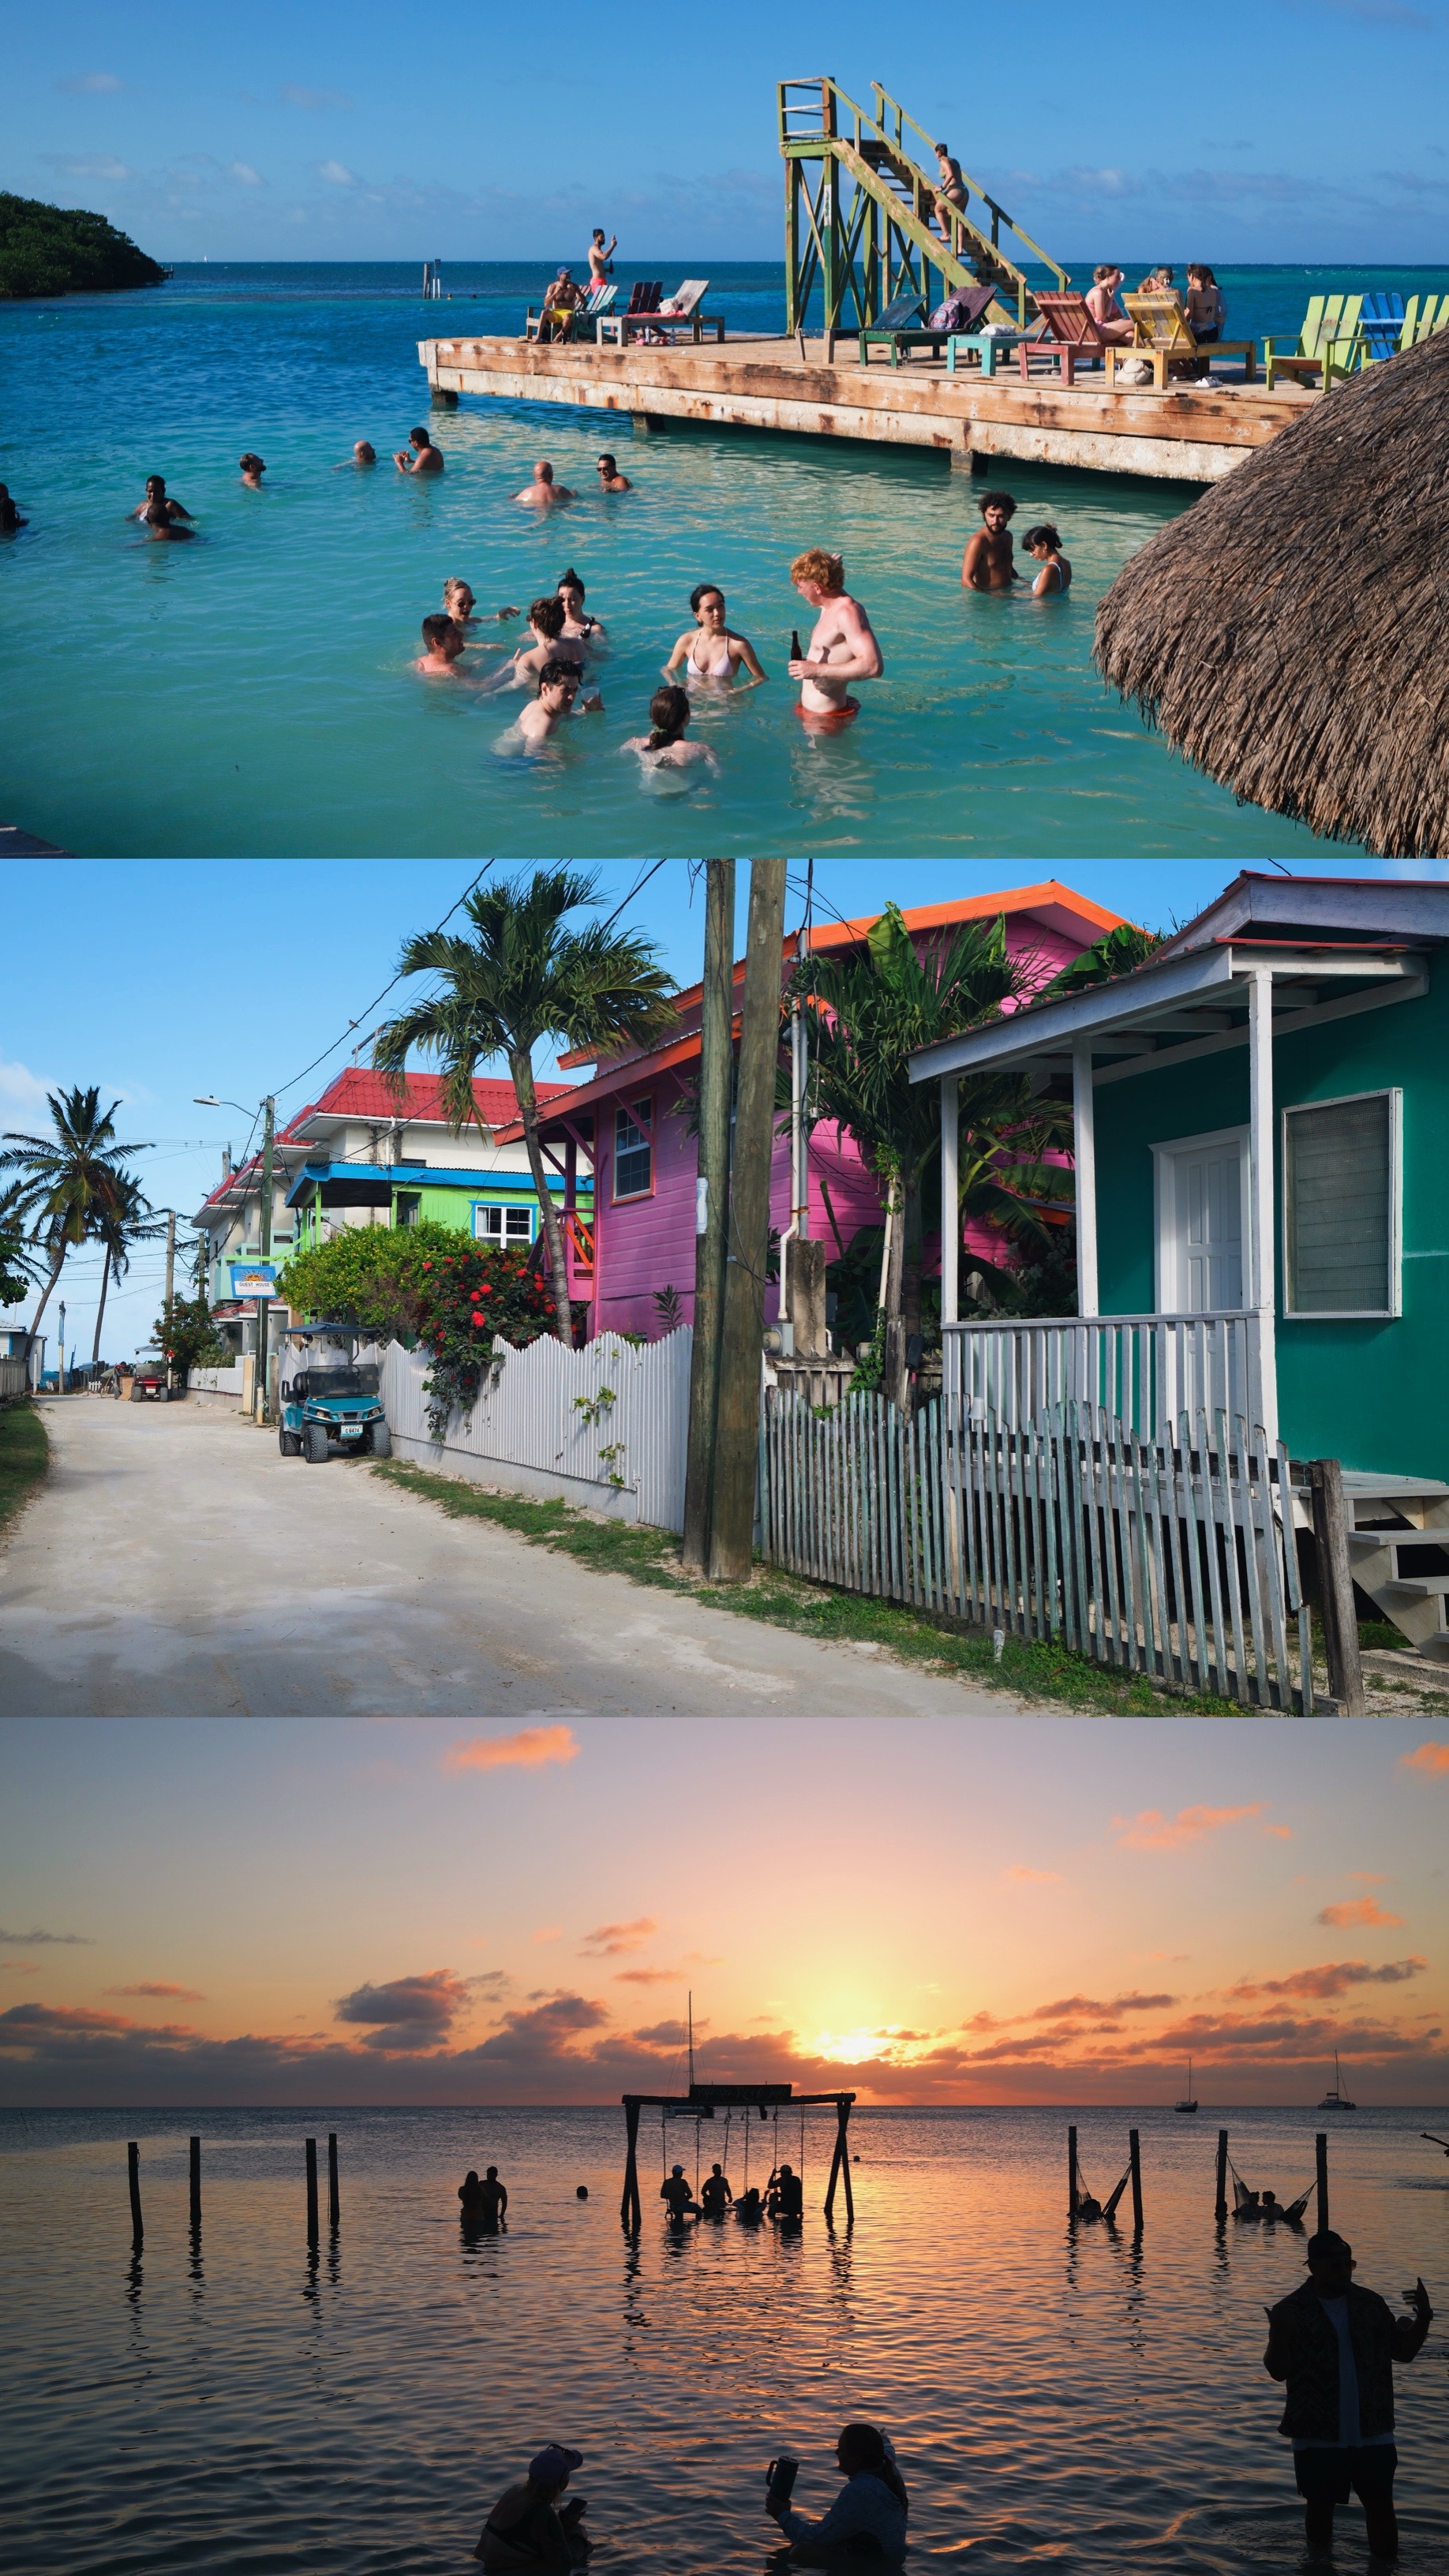
- Head to Iguana Reef to hang with the sting rays at sunset!
- Drink and swim at the Lazy Lizard (where Caye Caulker was split into to islands in 1961’s Hurricane Hattie)
- Enjoy a smoothie
- Get a massage


OVERALL THOUGHTS:
I really liked it here and actually planned to spend one more day here (as I was really busy diving and snorkeling each day and could’ve used a chill day here) but I heard some friends I met in El Salvador were going to be in San Ignacio the next day so I change plans to overlap with them!
My favorite thing to do was just hang in the water with the sting rays. I fell in love with the creatures- just so sweet!
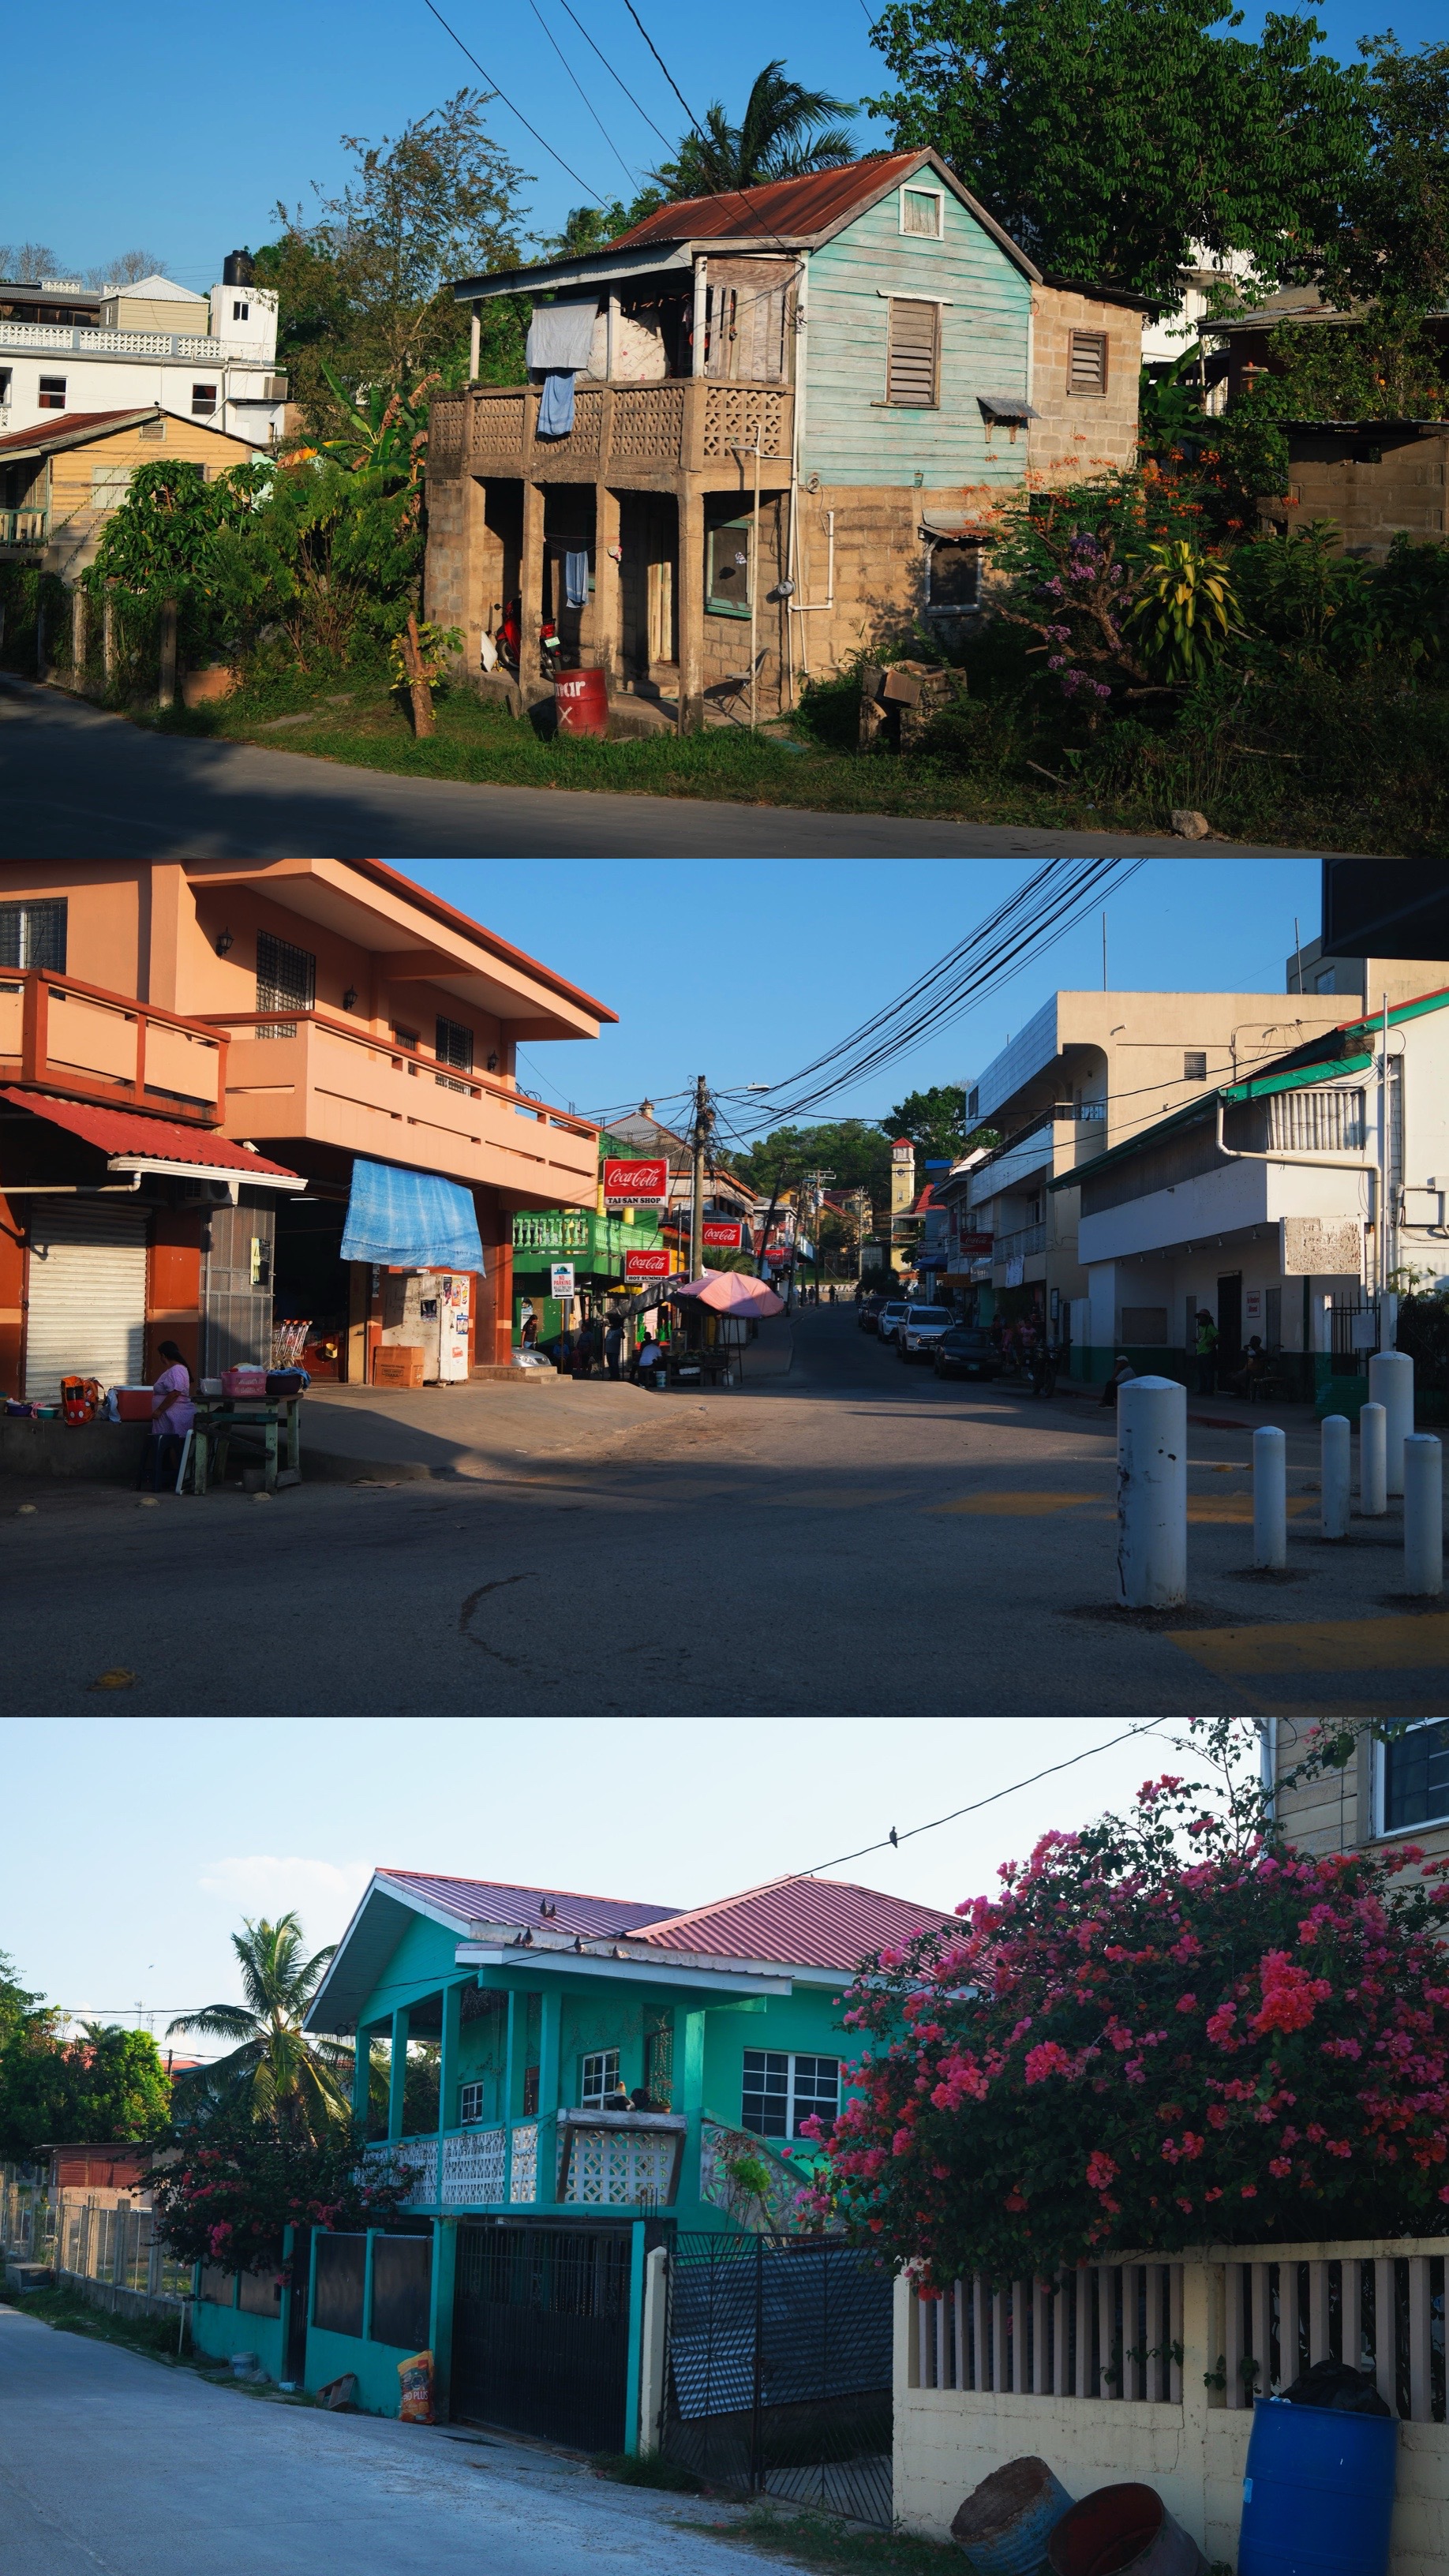
CITY: SAN IGNACIO
HOW LONG: 2 NIGHTS
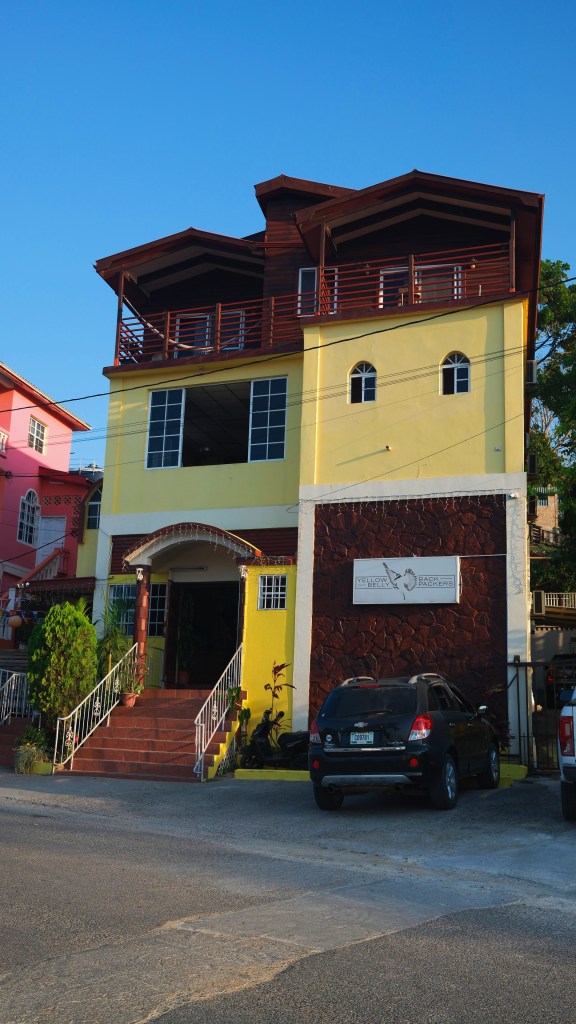
ACCOMMODATION:
I booked where my friends had booked, which was Yellow Belly Hostel. The hostel itself was fabulous, except for the fact that it was a 15 min walk in extreme heat into town. Meant we were a bit isolated, but there were a few restaurants with free delivery so we utilized that! AC was available from 5:30pm-9am and WiFi worked well. Lots of bathrooms and all were clean. Free breakfast was a huge spread and included eggs 🙌🏻 8/10 would stay again.
WHERE TO EAT:
I only had a smoothie at Wild Roots, which was great! Otherwise I ate at the hostel 😀
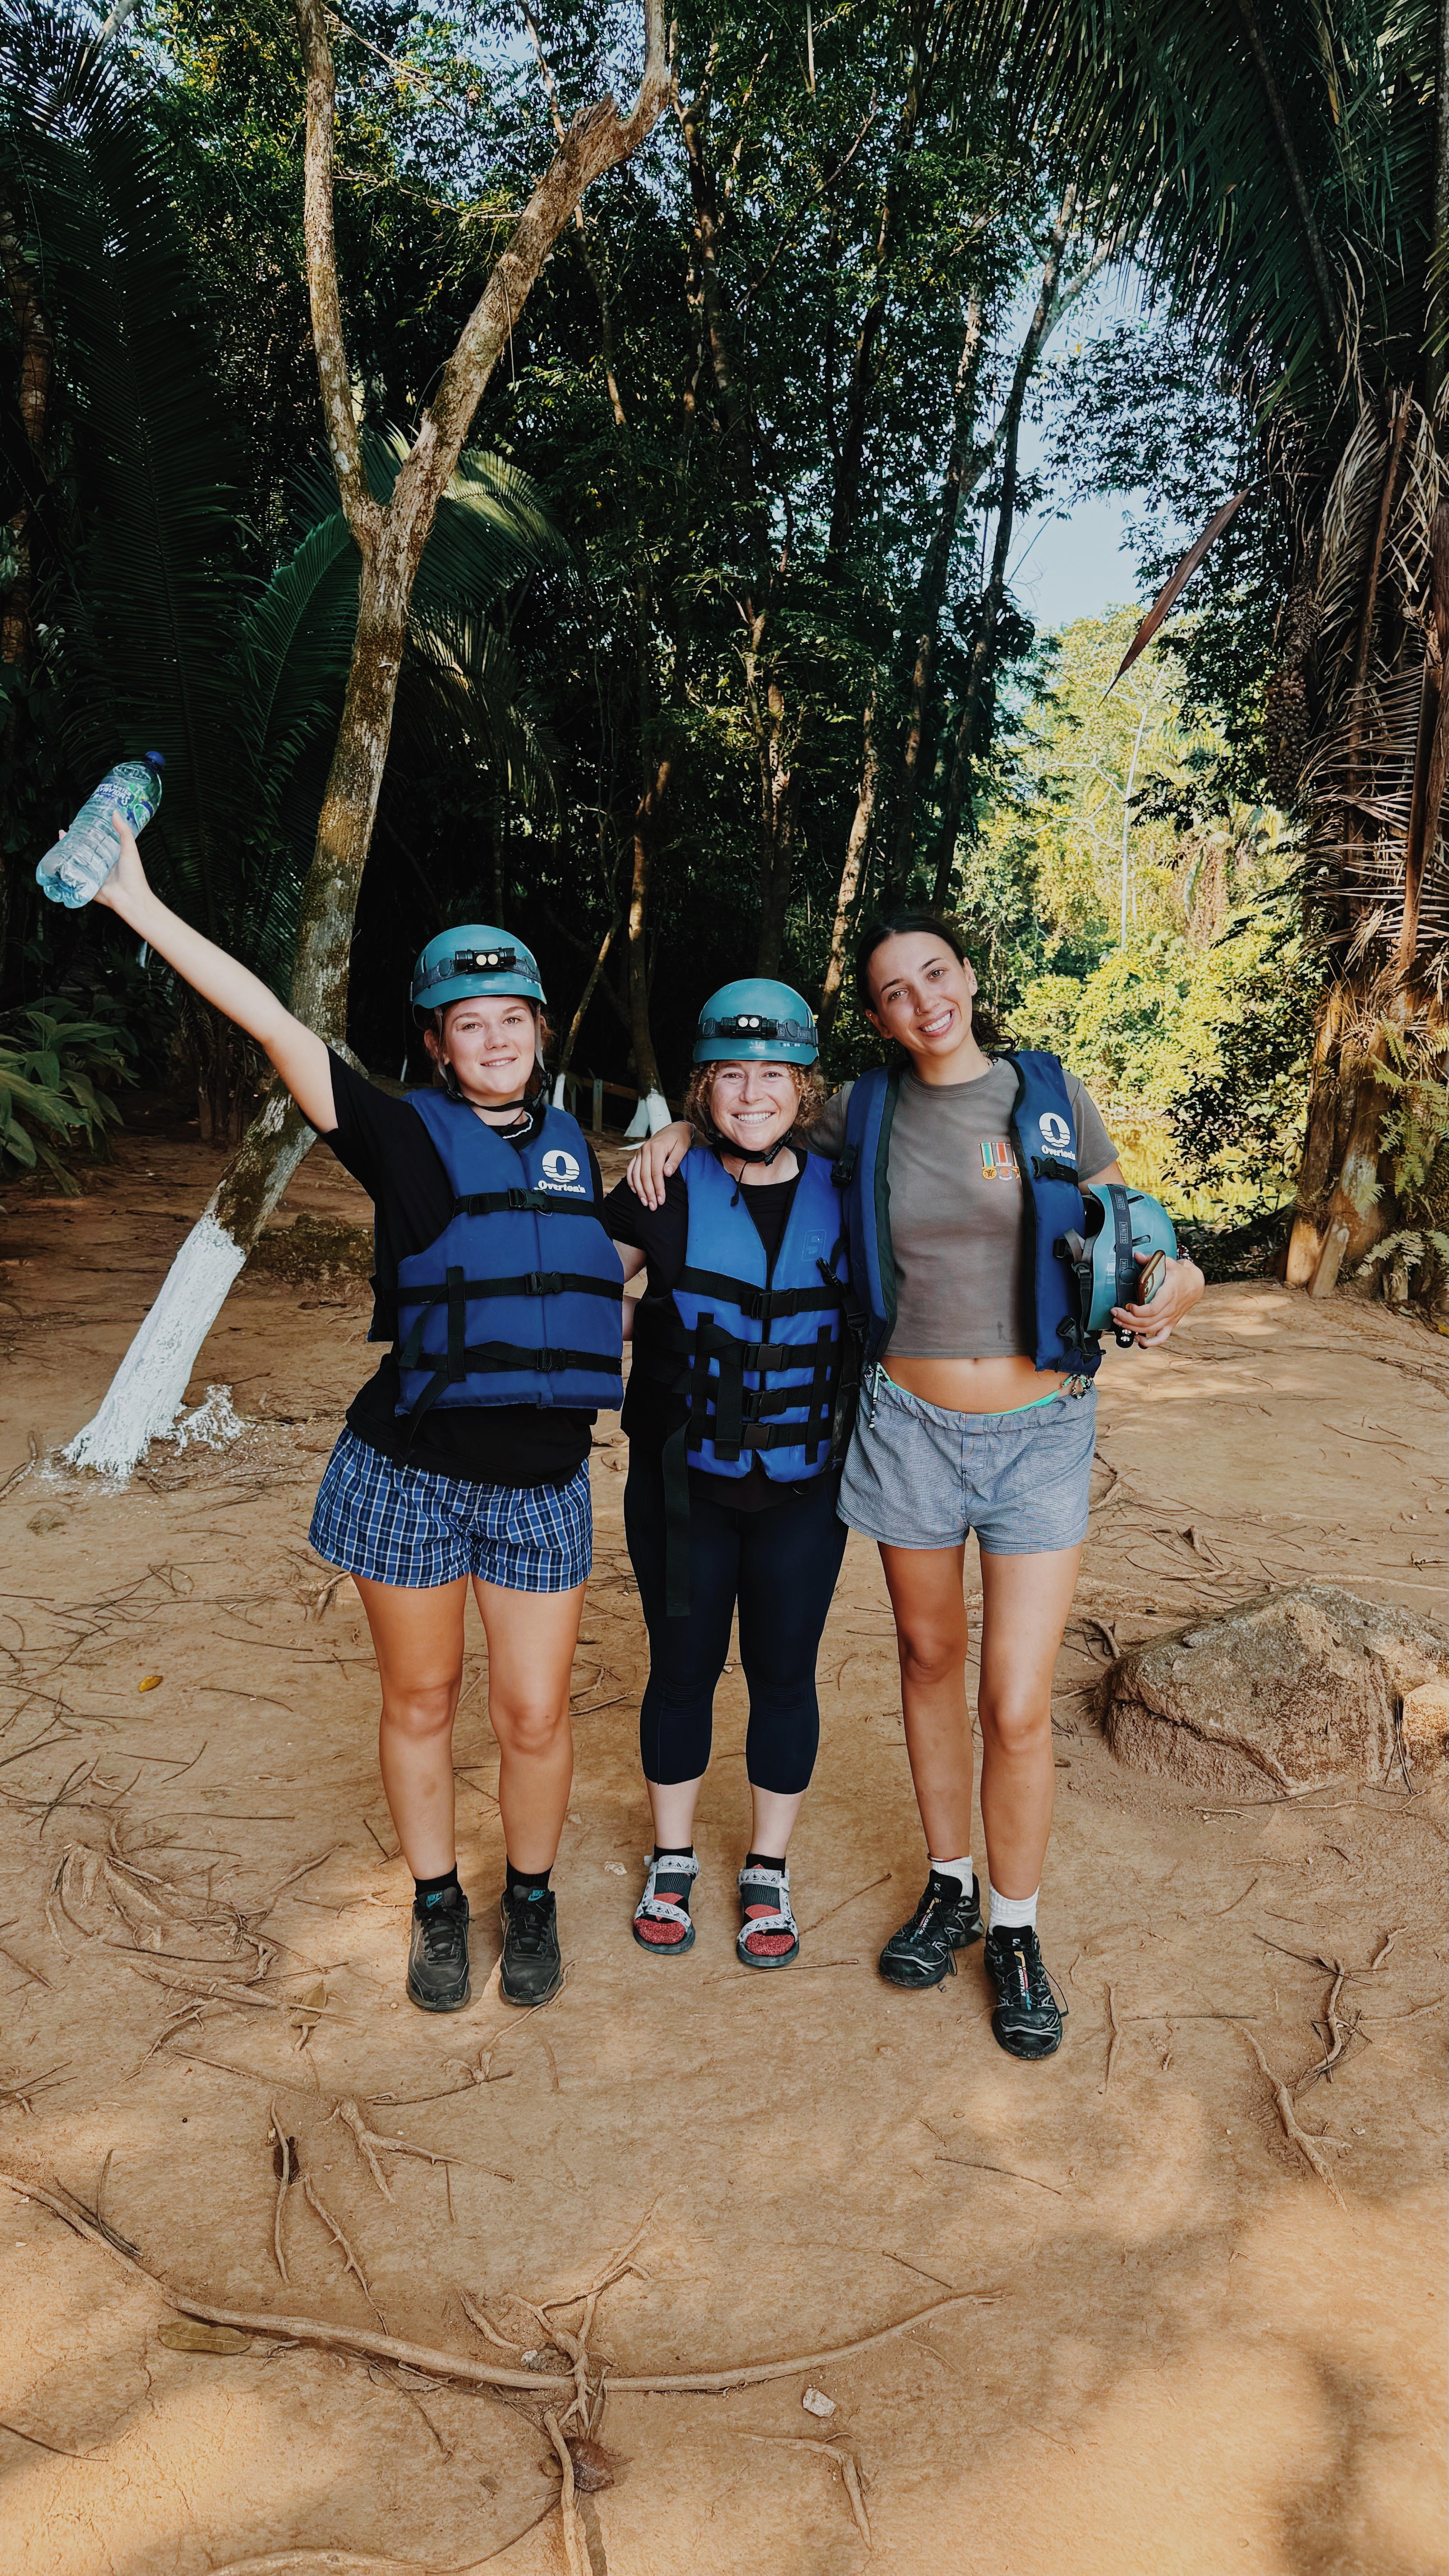
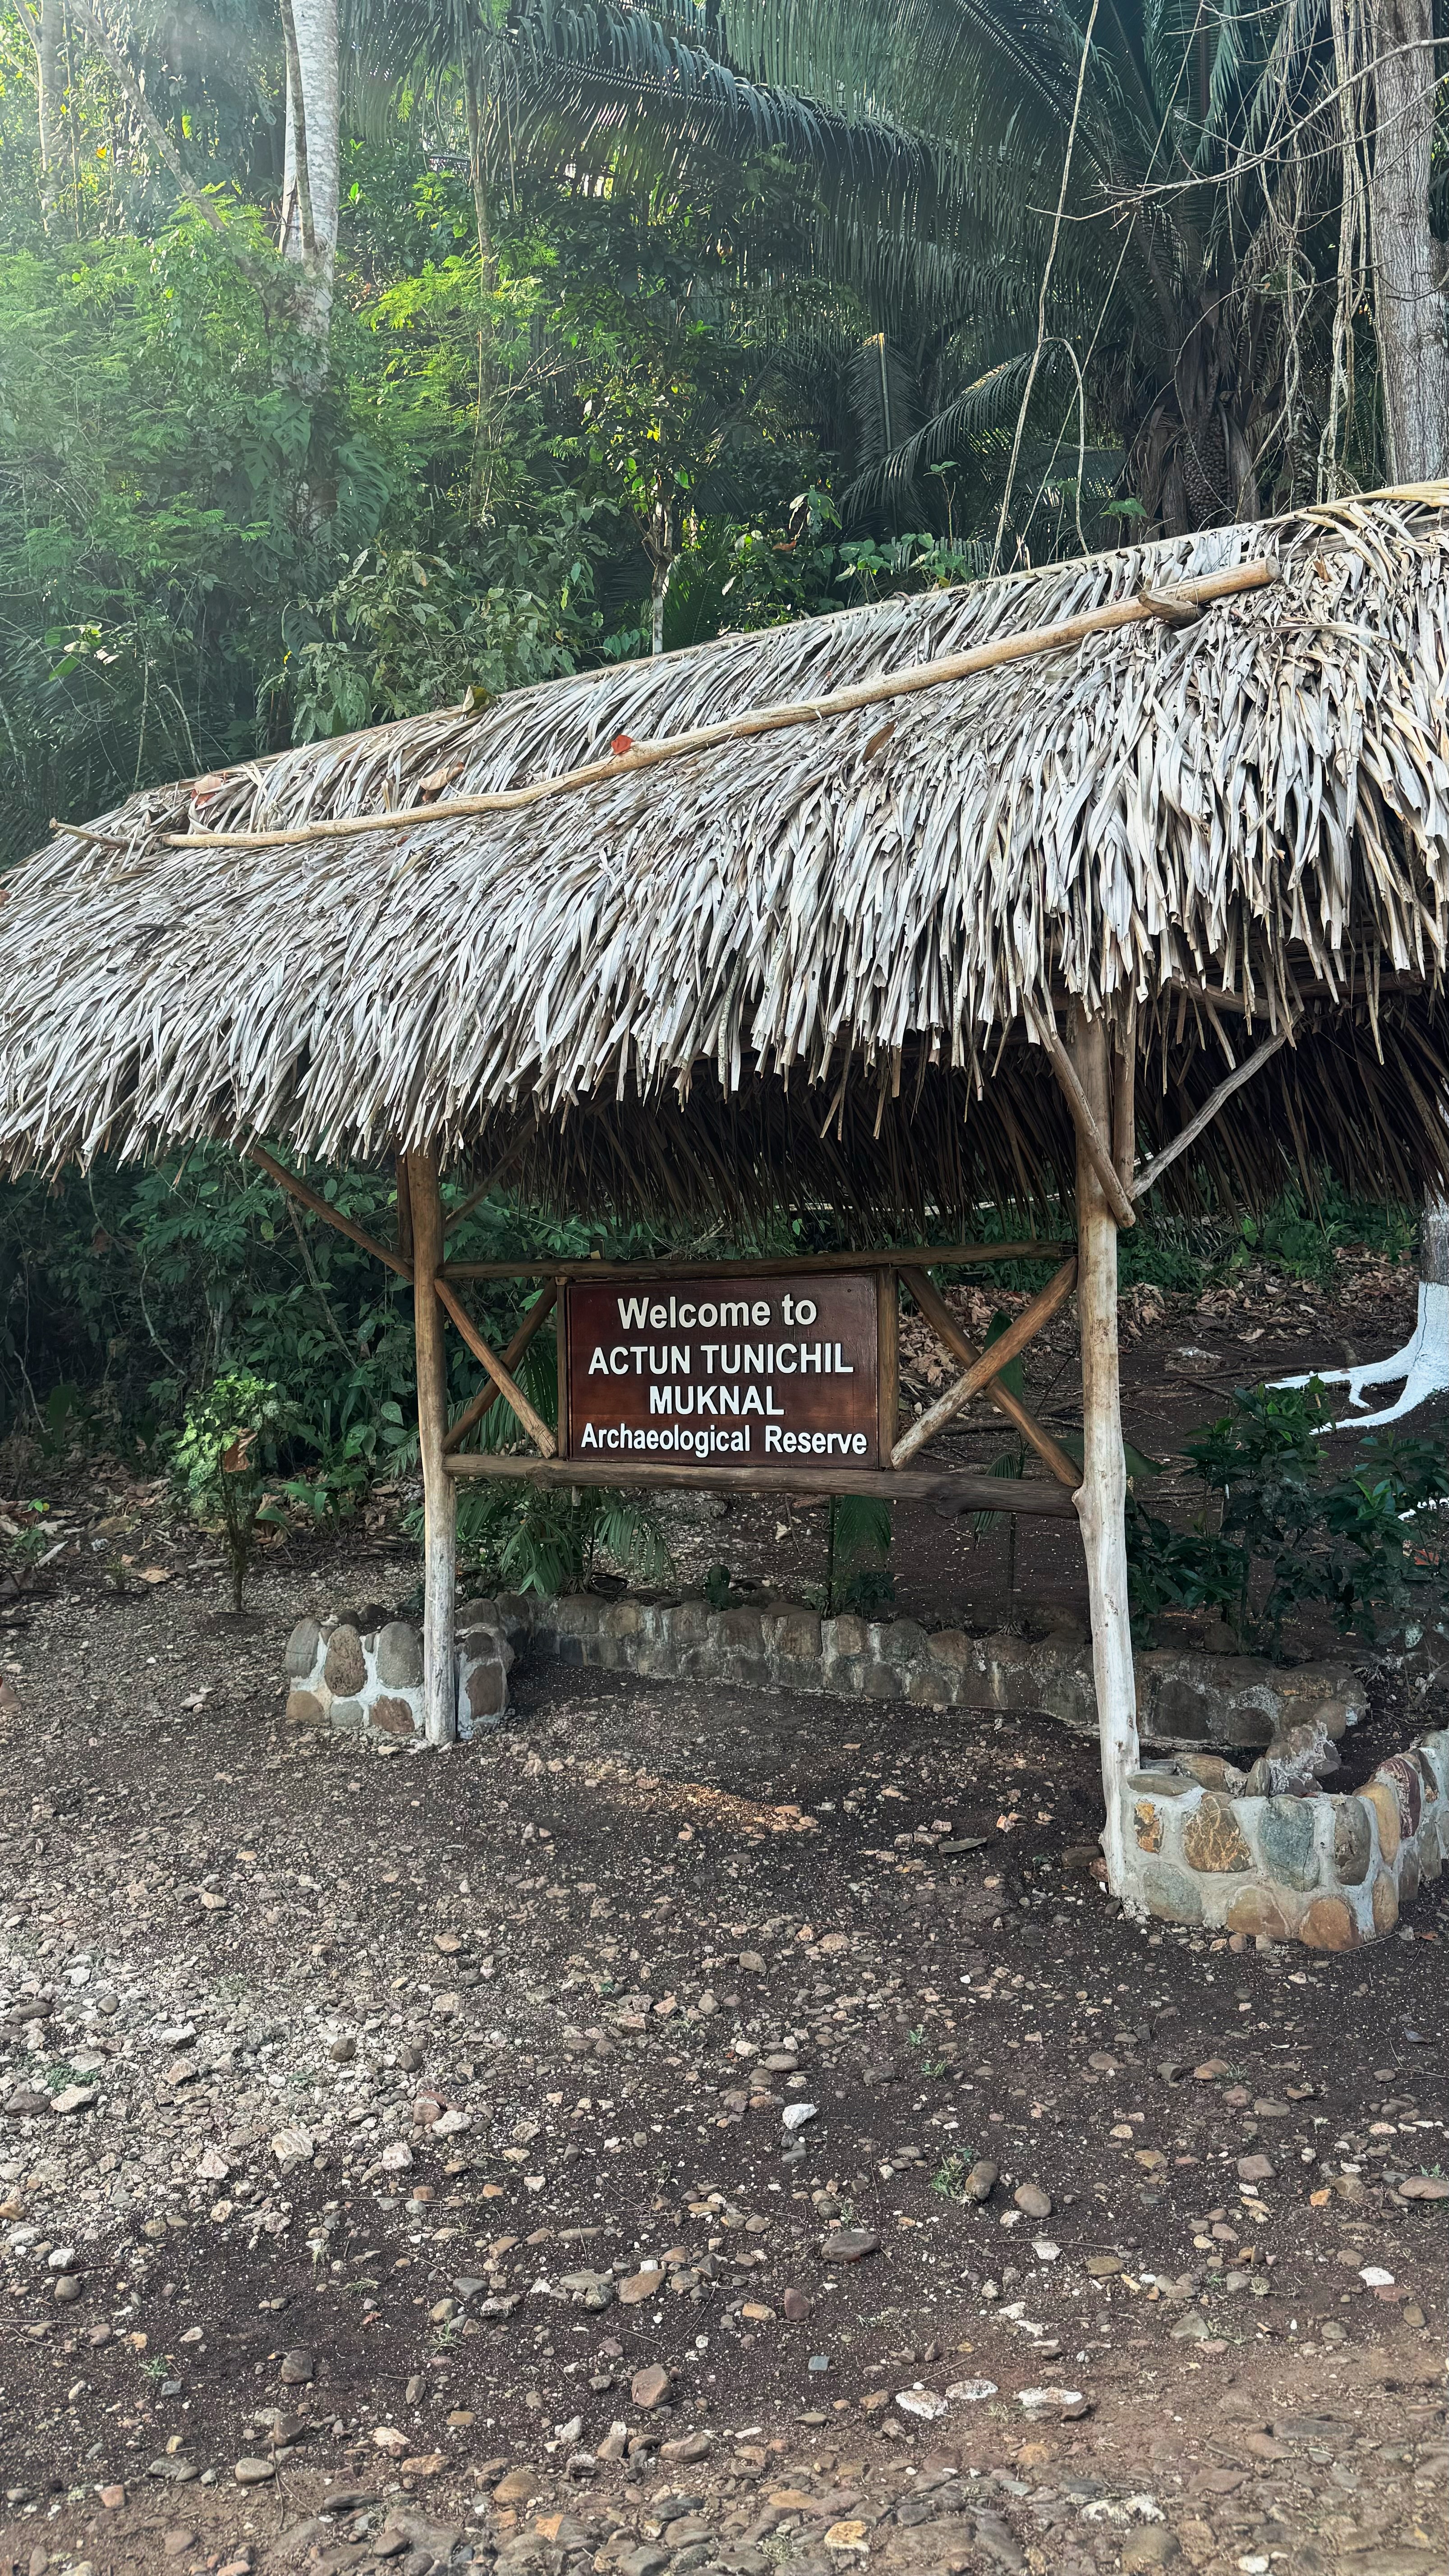
WHAT TO DO:
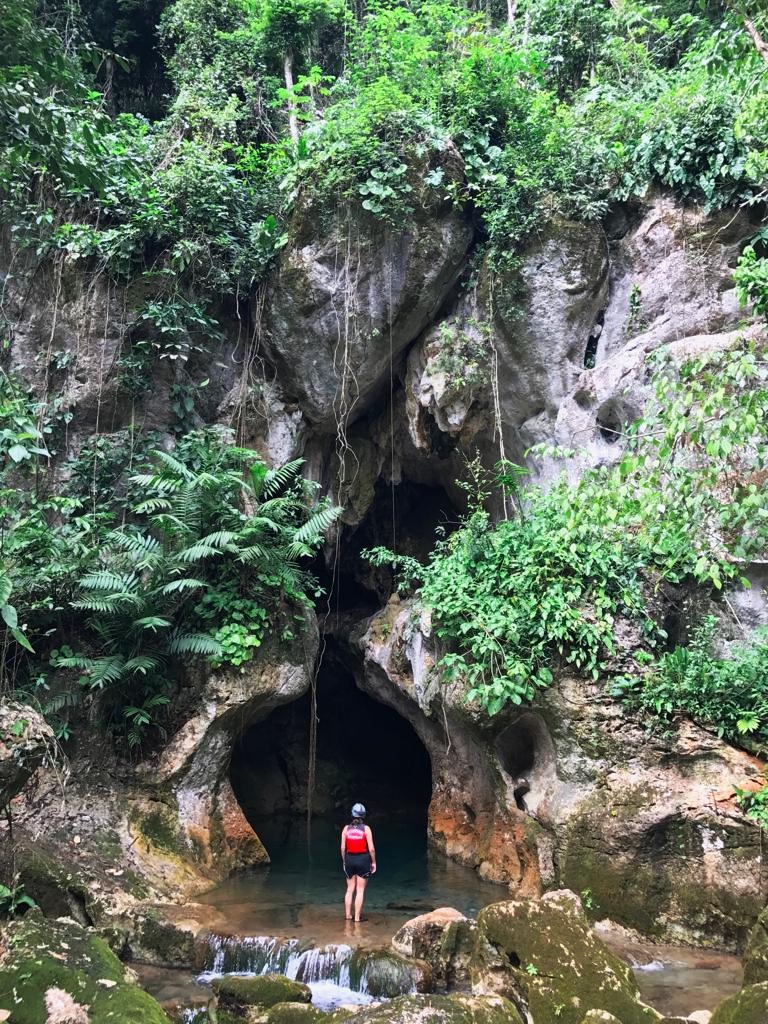
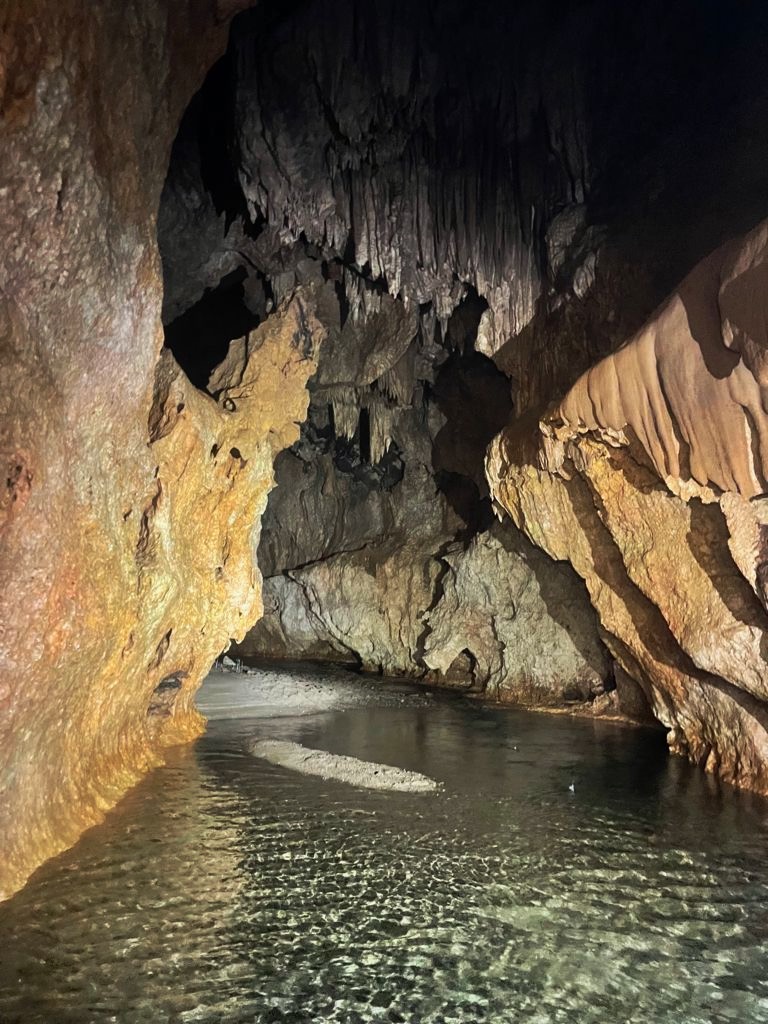
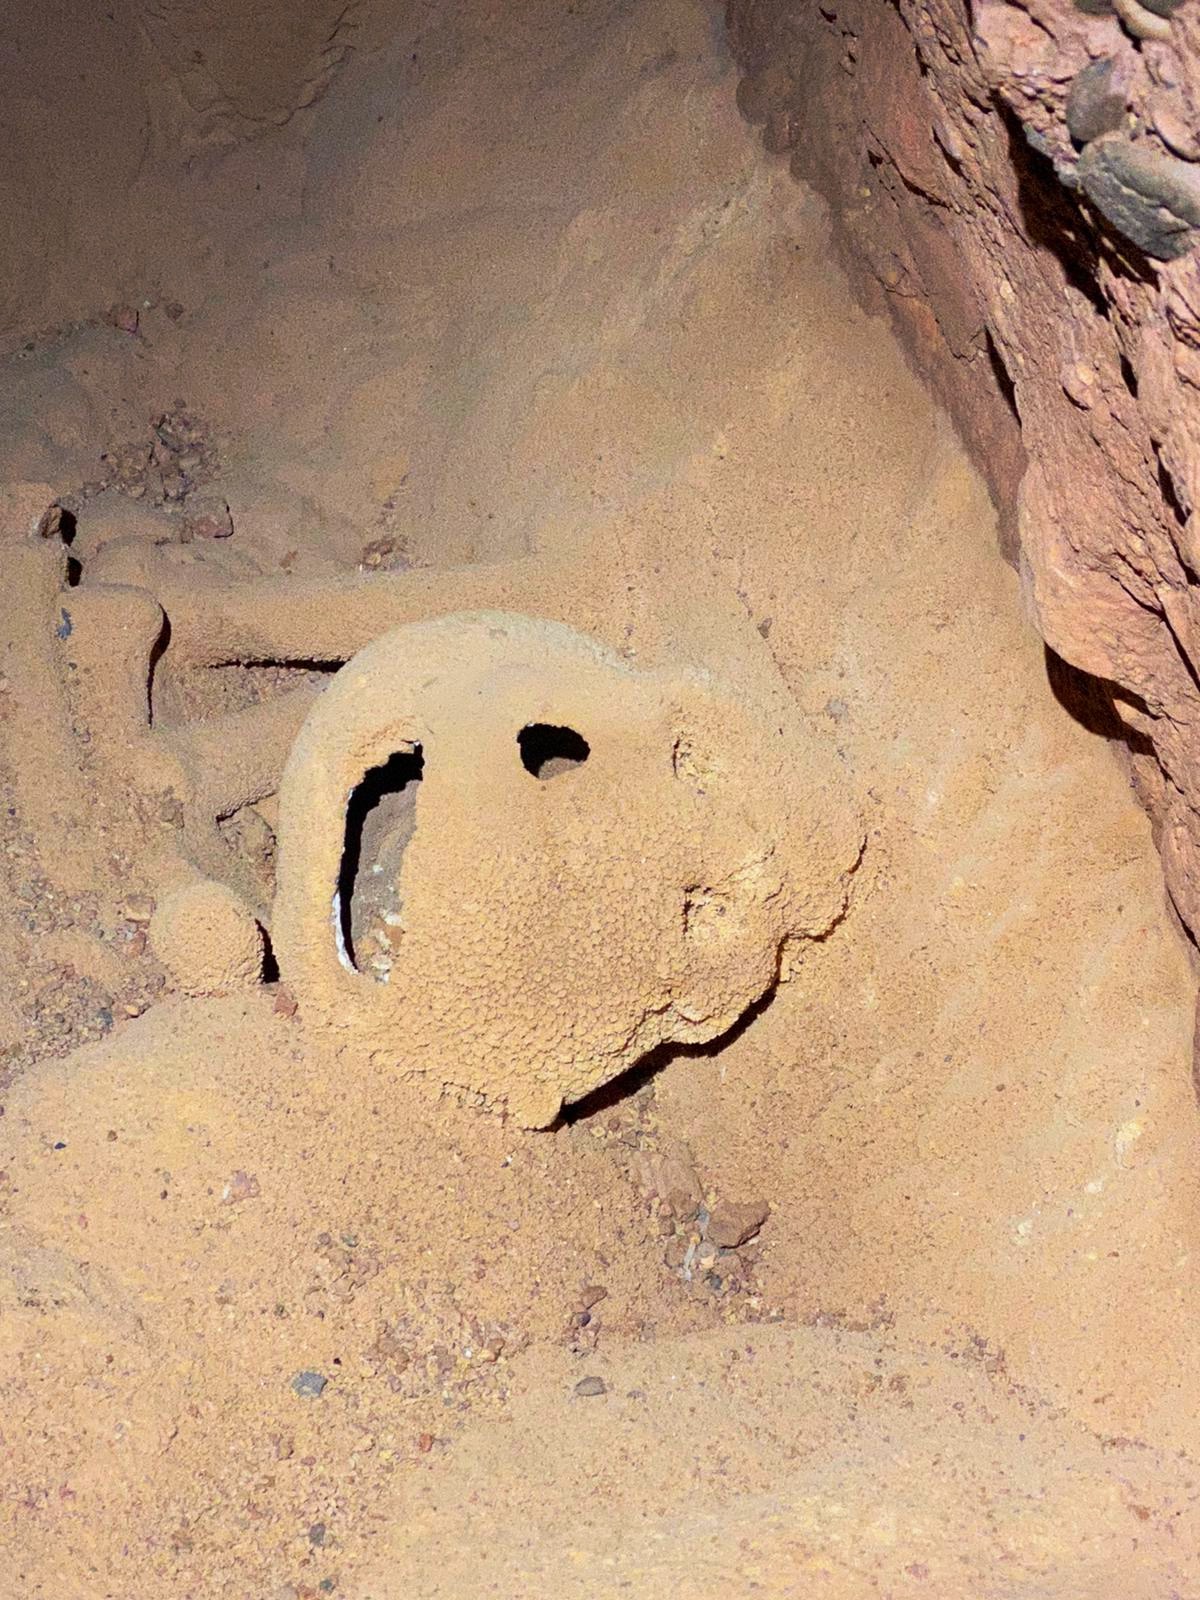
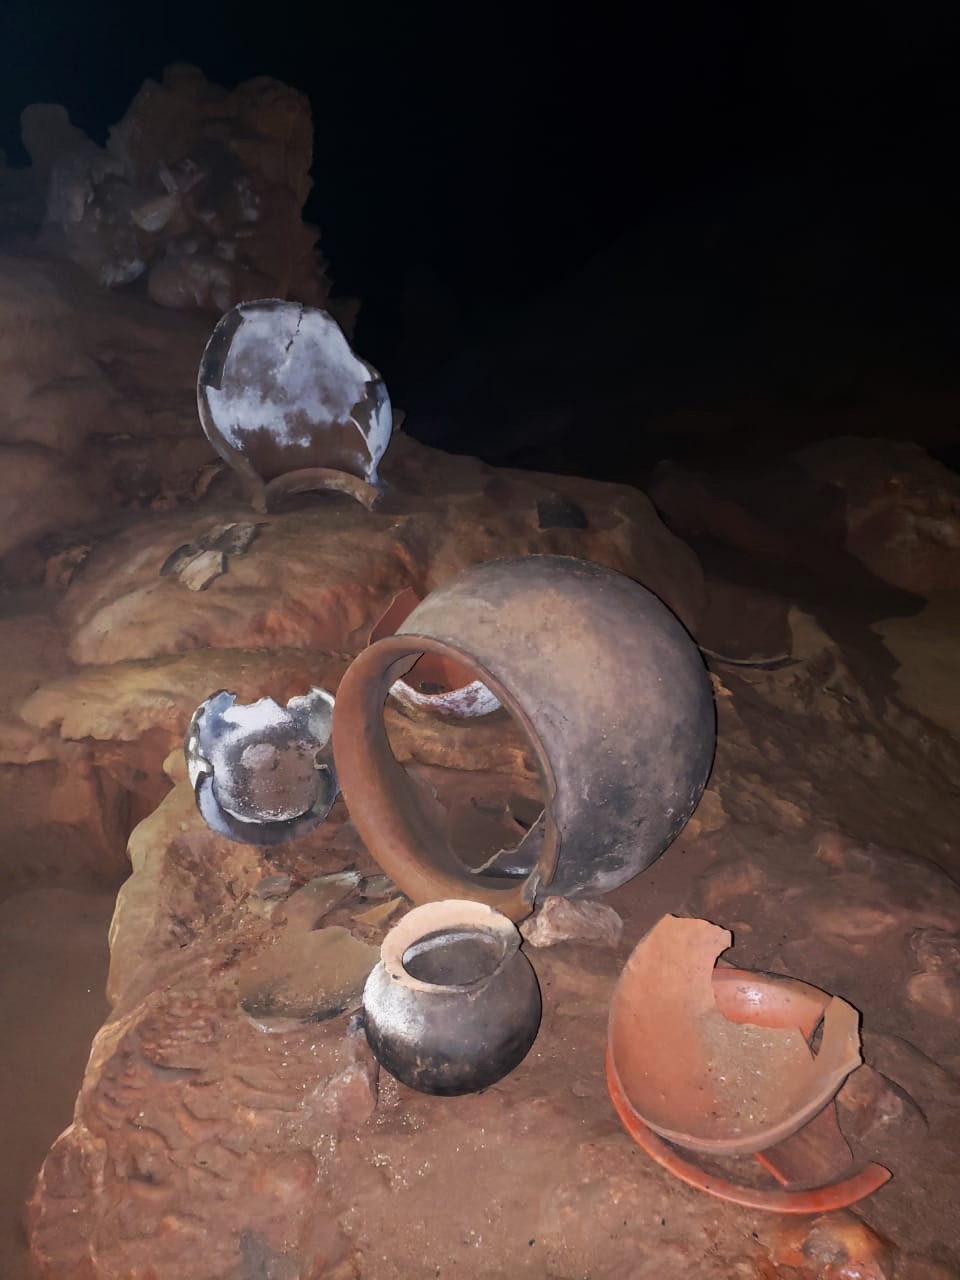
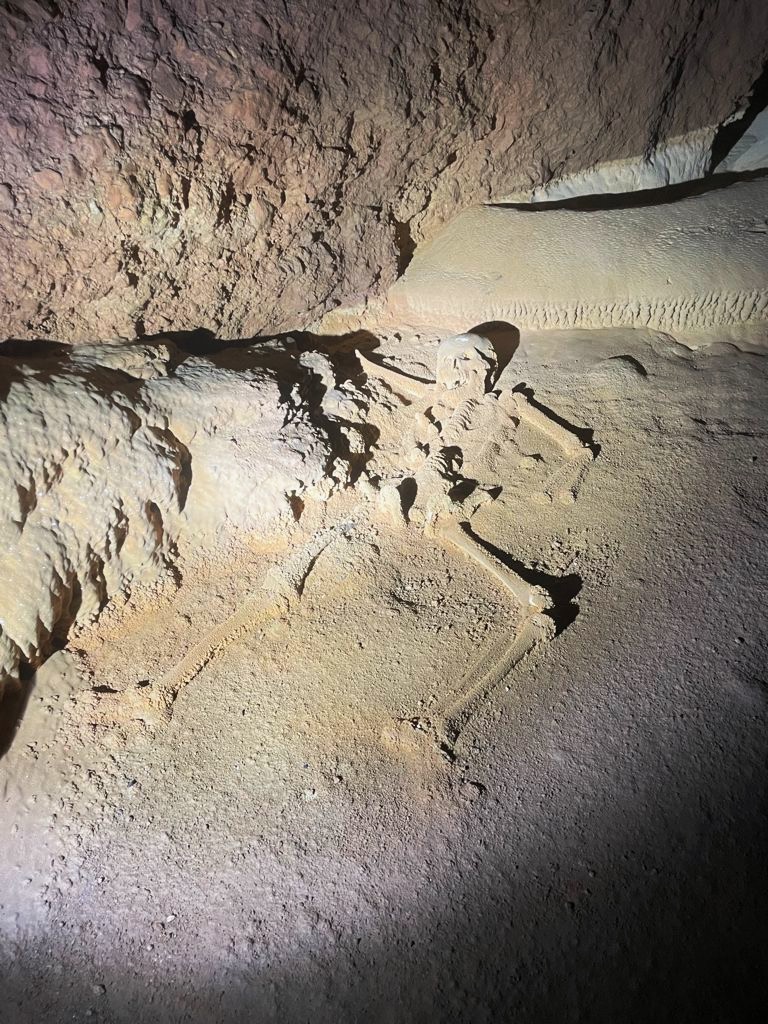
The main thing to do is go to the ATM caves, which were fabulous! It’s a cave system where the Mayans used to performs human sacrifices to the water gods. It was a mixture of adventure and history, which was a cool combination. It was pretty steep ($130) but would HIGHLY recommend. Everyone who has gone has raved about it! I just booked through my hostel but there are plenty of vendors in town that will happily sell you a tour.
There are a few other parks you can check out in the area, but most backpackers come for 2 nights just to do the caves in between backpacking Guatemala and Belize
OVERALL THOUGHTS:
While San Ignacio itself isn’t super sparkly itself, the ATM caves make this place a must visit, but no need to spend a long time here.
BUDGET FOR 7 DAYS IN BELIZE:
If you are looking for a cheap holiday destination, Belize is not it haha. This is typically the most expensive stop along the Central America backpacker route. Once again, if you aren’t a diver, you’ll be able to do this much cheaper than me though.
- Accommodation: $385 ($55 per night) – spent 4 nights in a private room in Caye Caulker since there weren’t any great hostel options and I wanted good sleep before all the early scuba diving I was doing.
- Food: $100
- Activities: $610 (5 dives + 2 excursions + 1 massage)
- Local Transportation: $80
- Miscellaneous: $5
Total: $1180 (Daily average: $170)
Transportation to next destination: $40 (Shuttle to Flores, Guatemala)